Over the last couple of weeks, the subject of Beastie photography has raised its head a few times in the comments! And that got me looking back at all the crazy things I’ve done over the years in the name of capturing a blog-worthy Beastie snapshot. Better still, it made me think of the sneaky fixes that other Beastie-wranglers around the world have shared with me!
So, I thought it might be fun to combine some of this knowledge into one handy post. Because, let’s be honest, sometimes those little woolly monsters just aren’t feeling the photoshoot, and getting them to cooperate can be hard work!
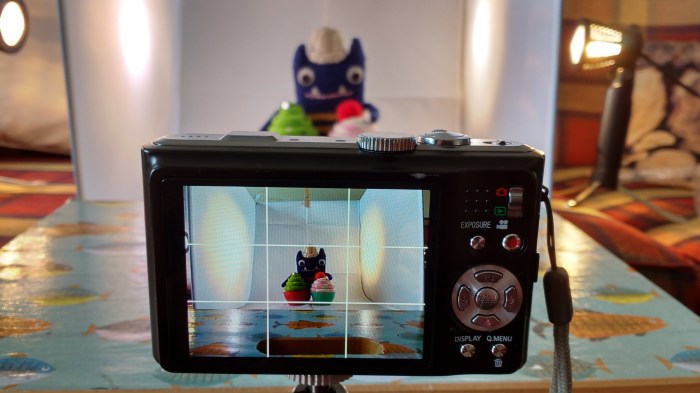
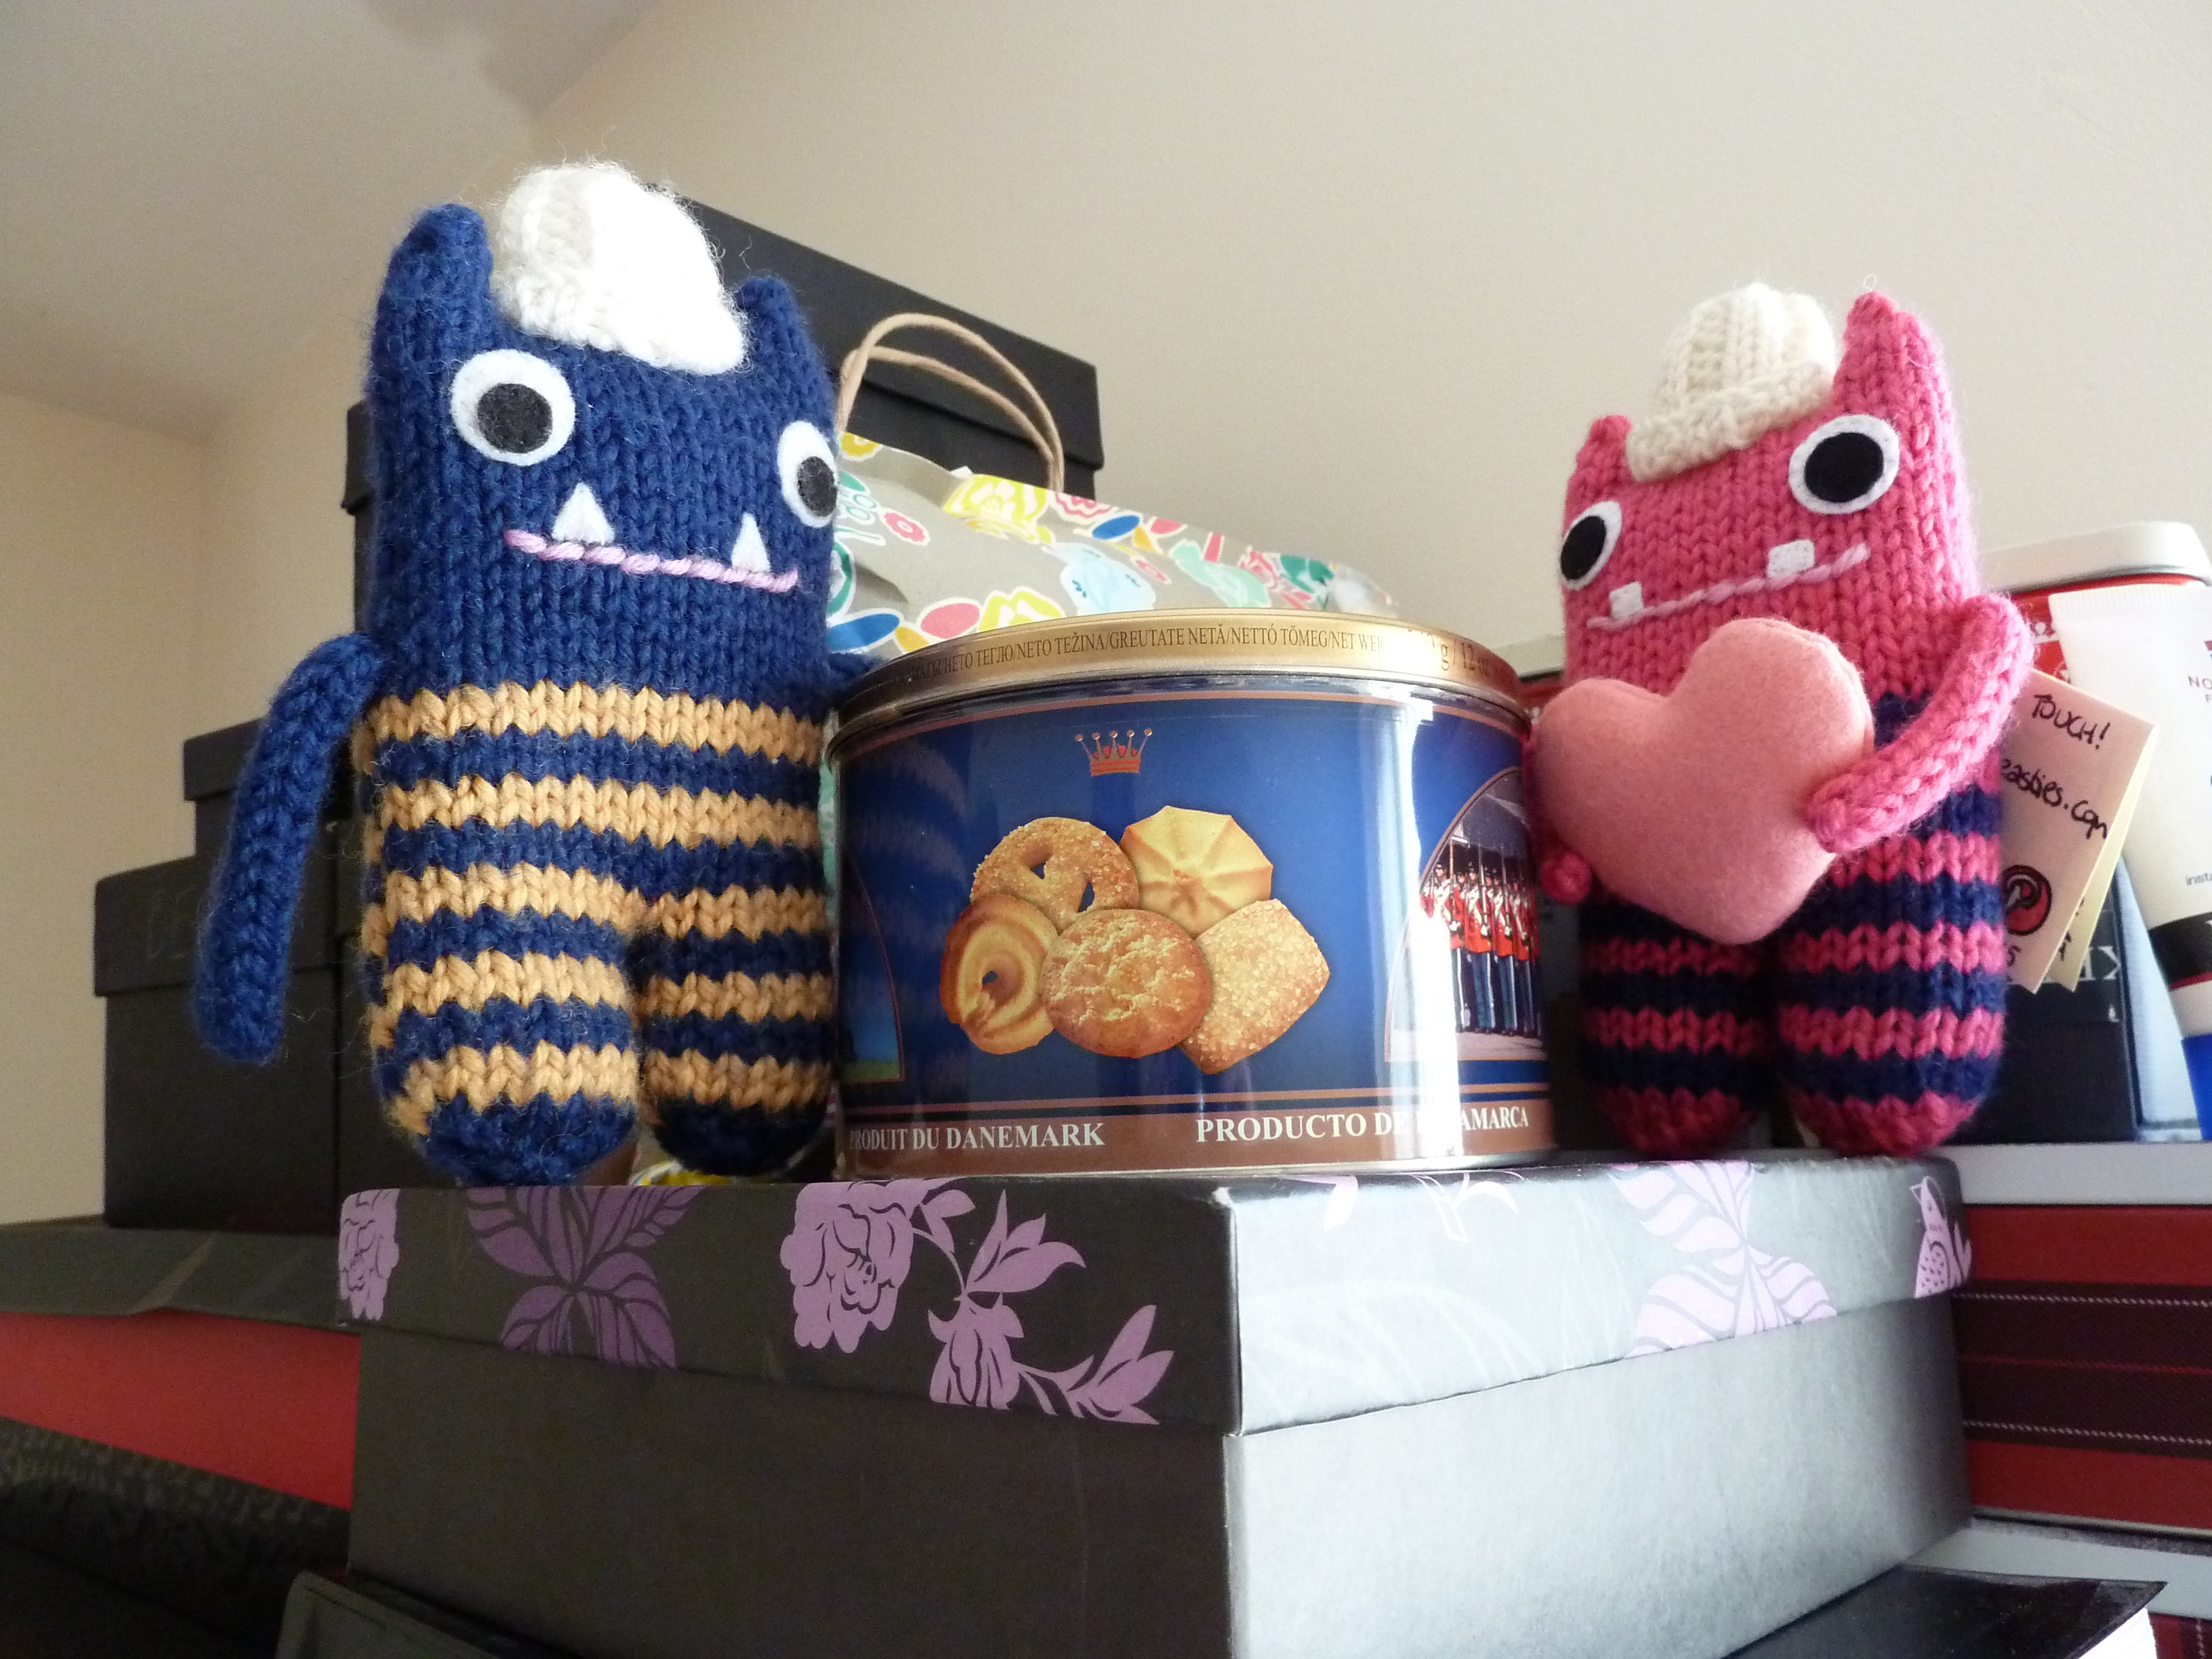
 The first challenge in Beastie photography is keeping these little guys on their feet. Their sometimes overwhelming desire to just pitch over and have a quick lie-down is probably something they get from me.
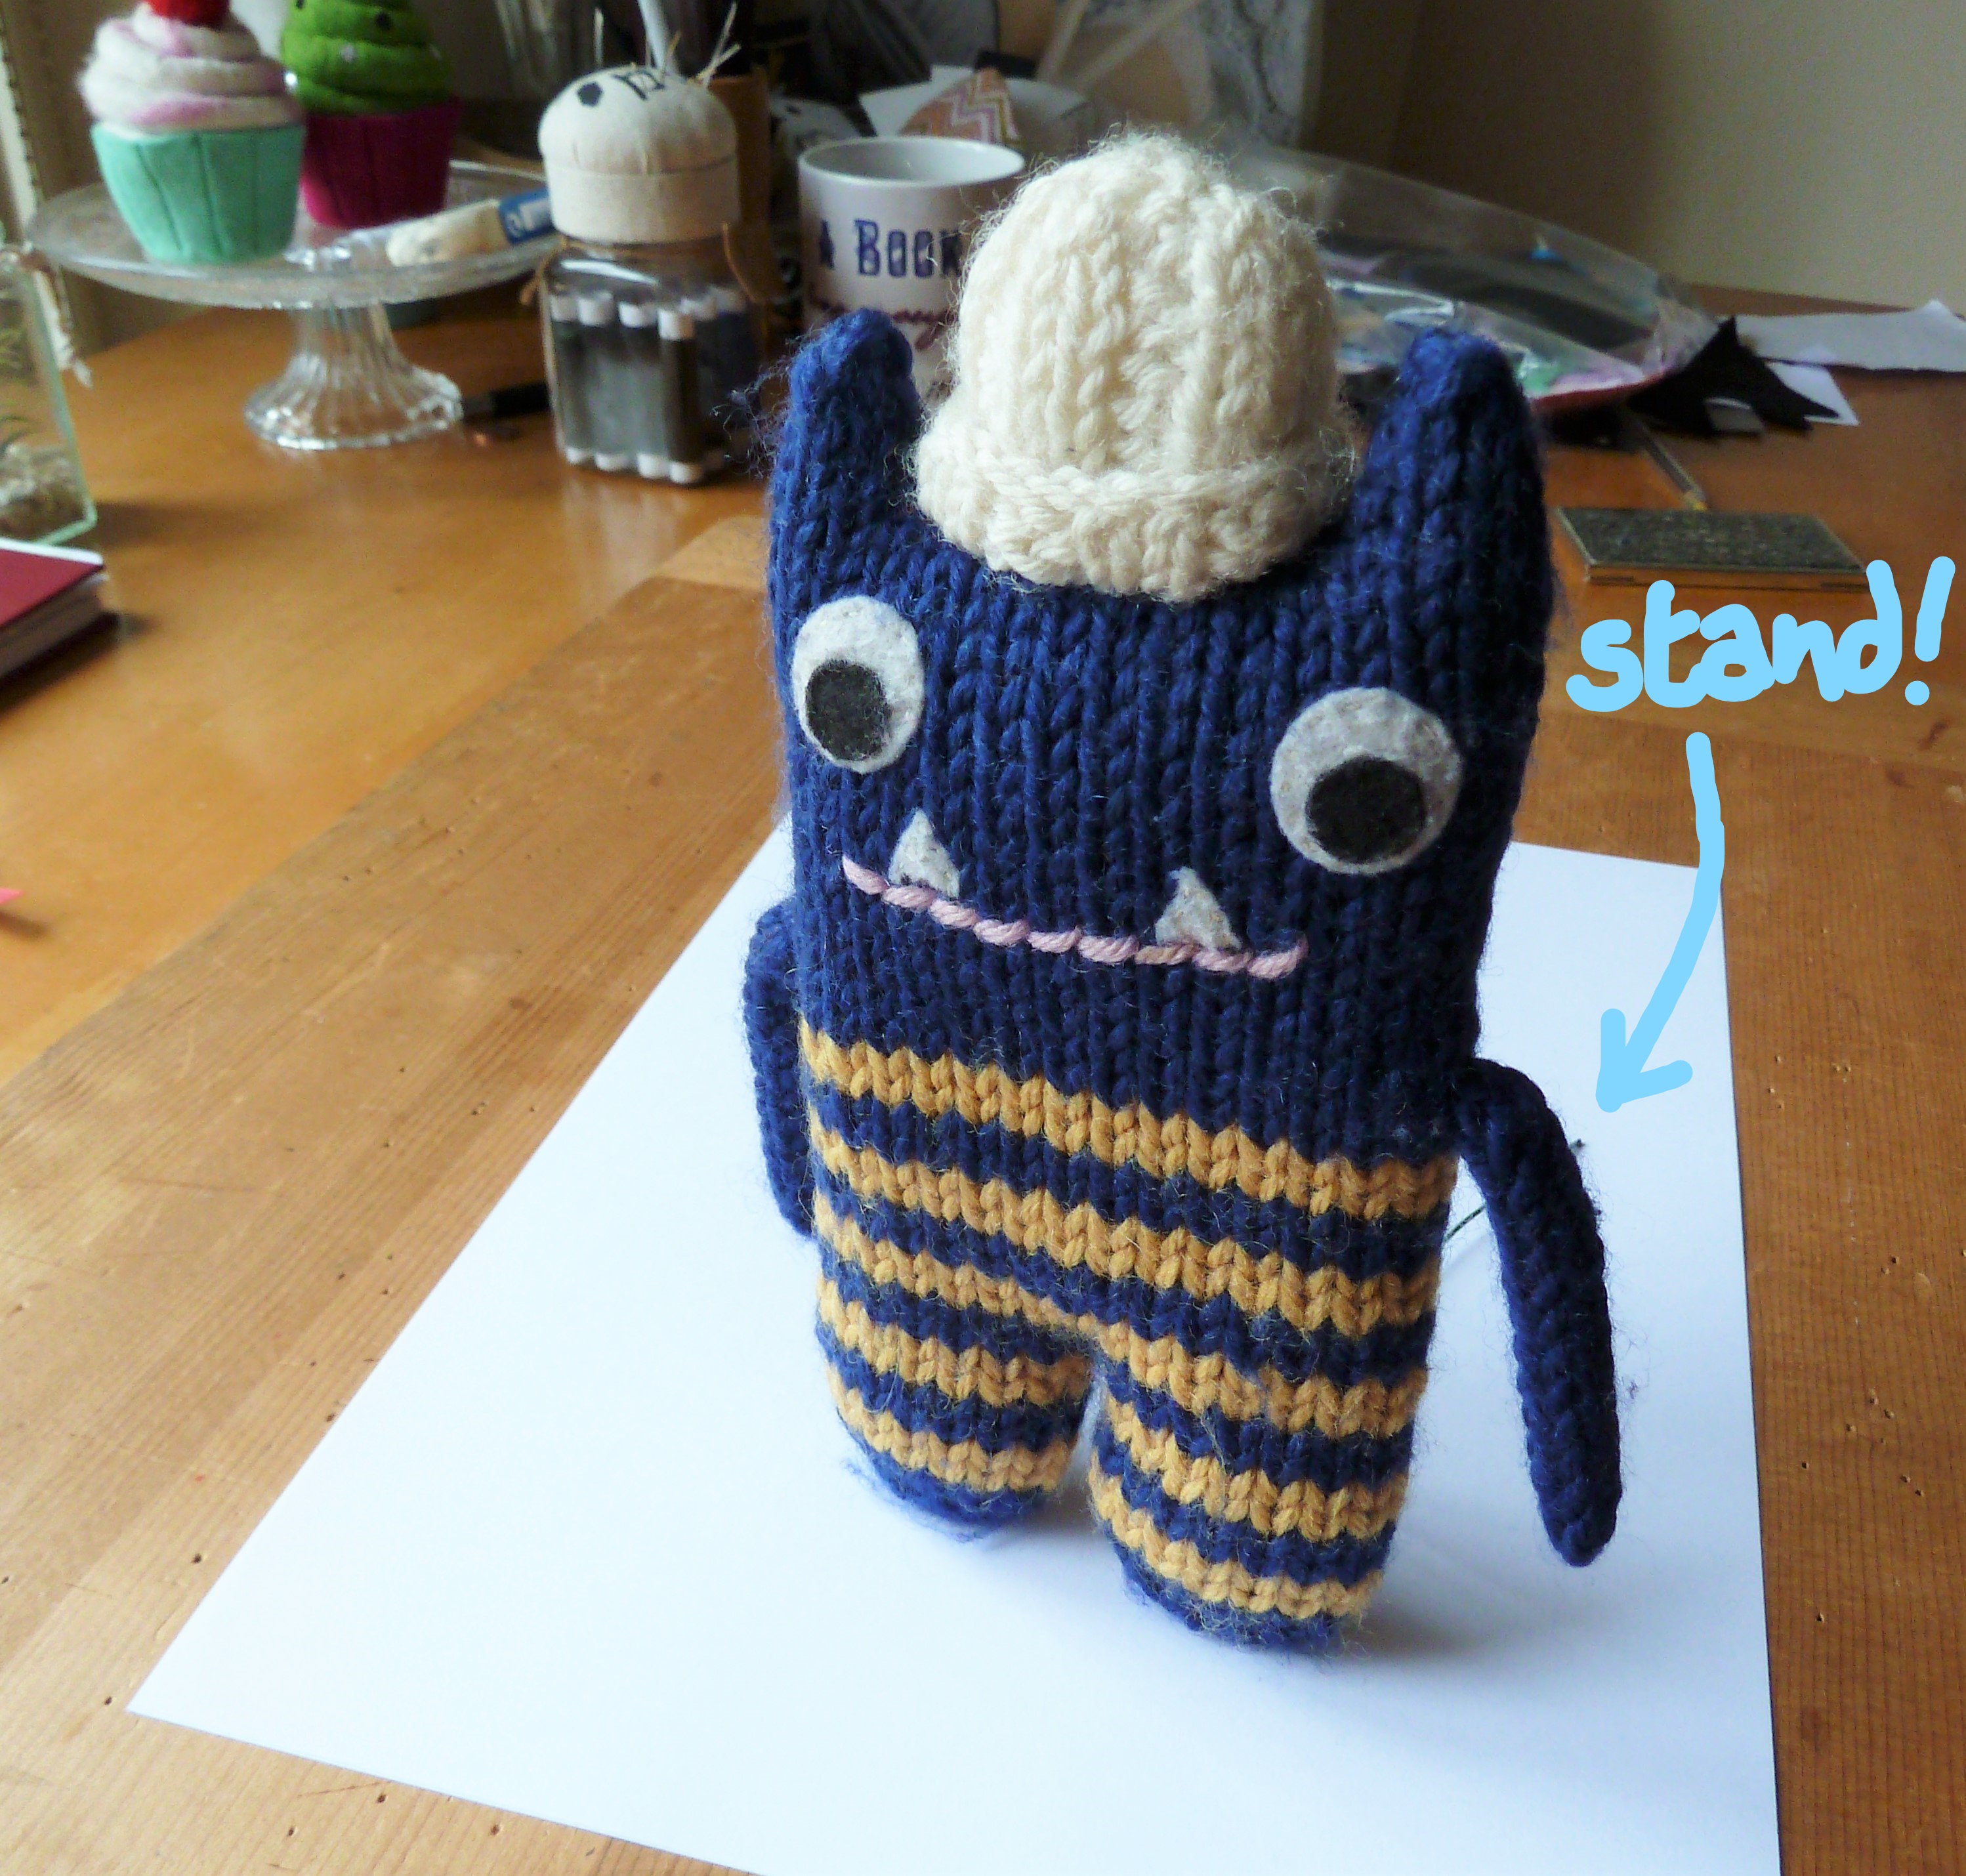
Fortunately, help is at hand! A simple wire stand like this one takes the weight off their little short legs, and helps to keep them standing while you adjust your camera settings.
 As you can probably tell, this is super-easy to make… All you’ll need is a length of florist’s wire, which you bend like this:
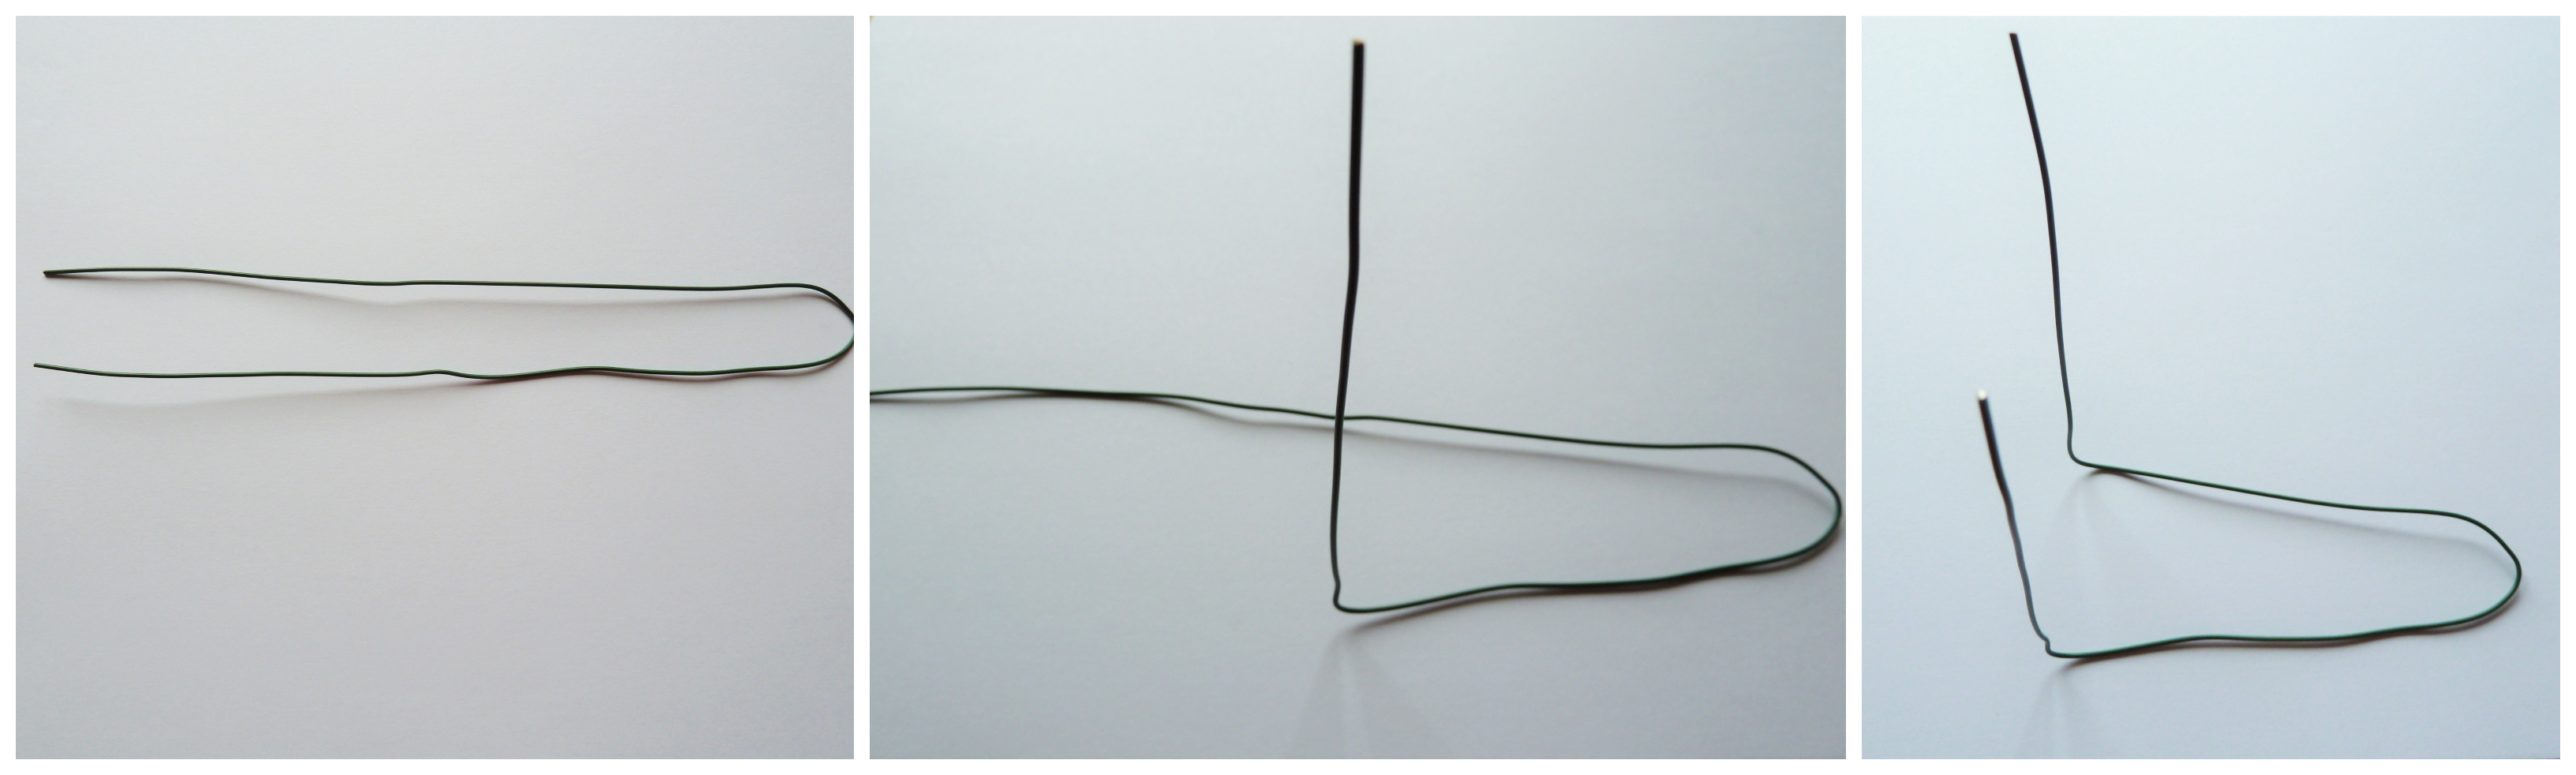 Taa-daaaah!
 Of course, sometimes you leave home without a stand in your bag, and that calls for a little improvisation! On my recent trip to Germany, I discovered that my snazzy business card holder makes an excellent substitute…
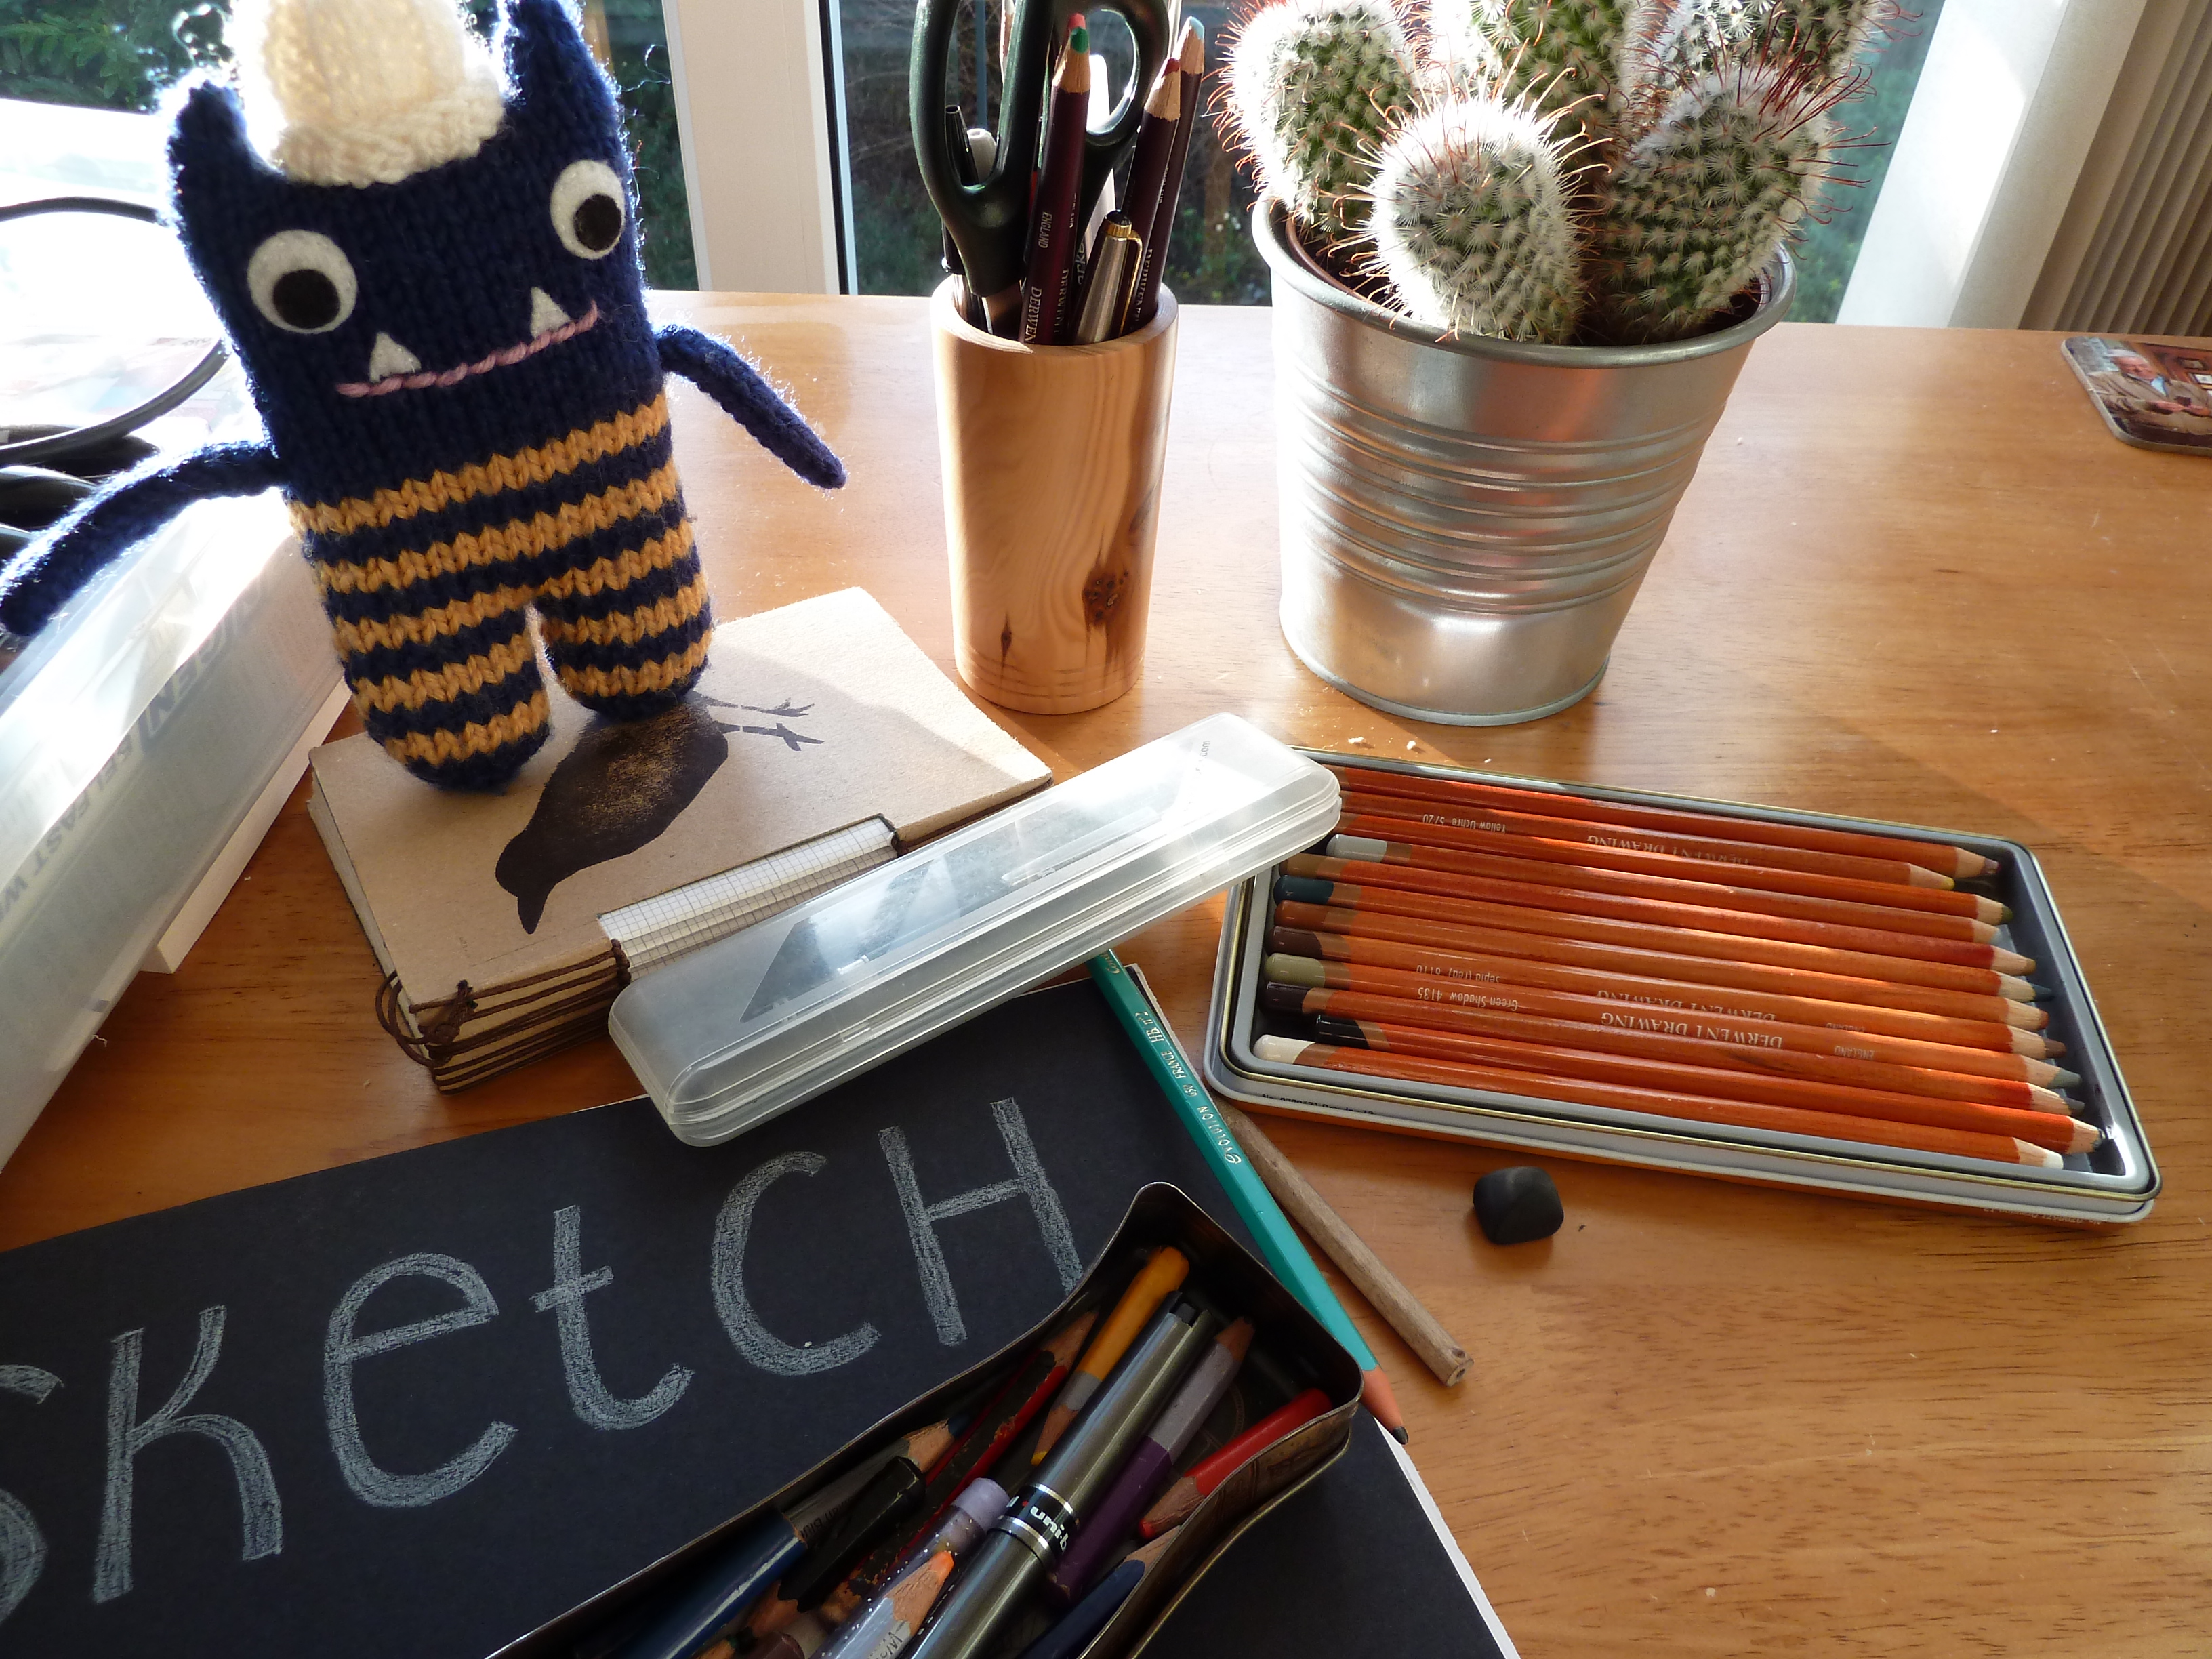
 … And Explorer Beastie is a dab hand at seeking out twigs to hold onto when his energy levels start to dip, too.
Other discoveries include using sticky tape…

Thanks, Tammie and Mr Husband!
Velcro is also an option – Tierney came up with this one for keeping her Beastie’s boots on, and I borrowed the idea for my latest commission! Then once they’re standing, the world is their oyster!
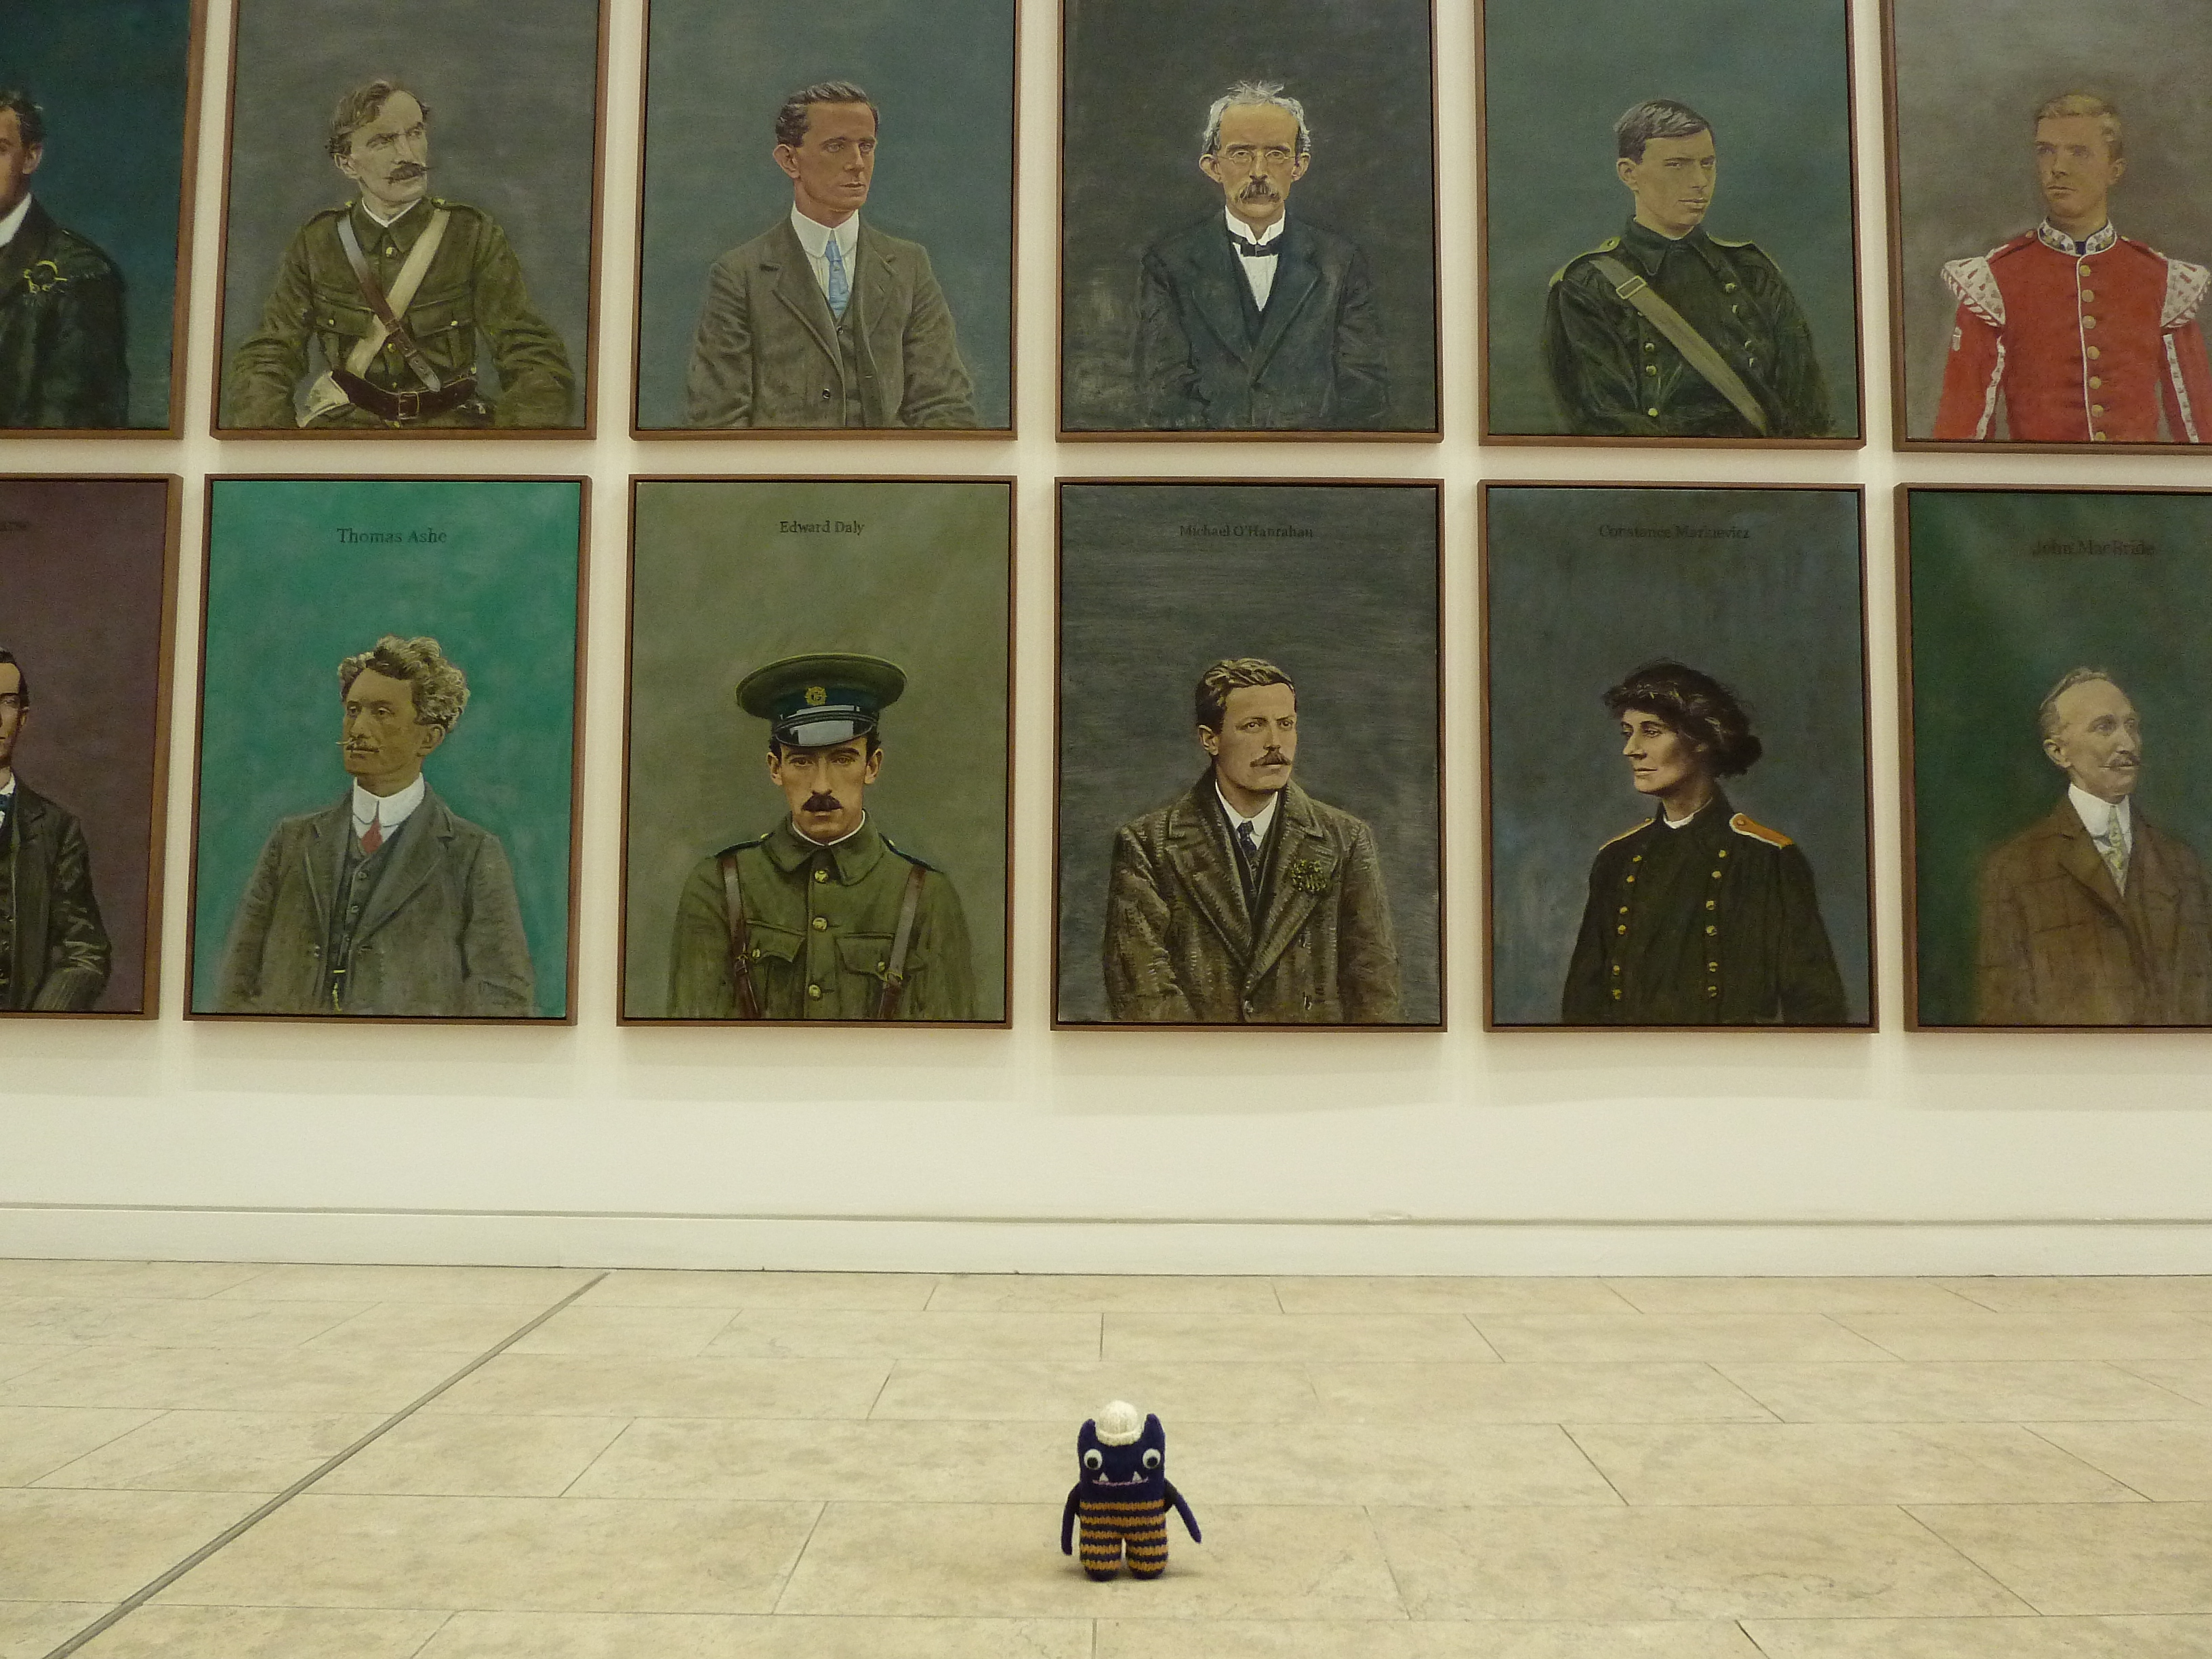
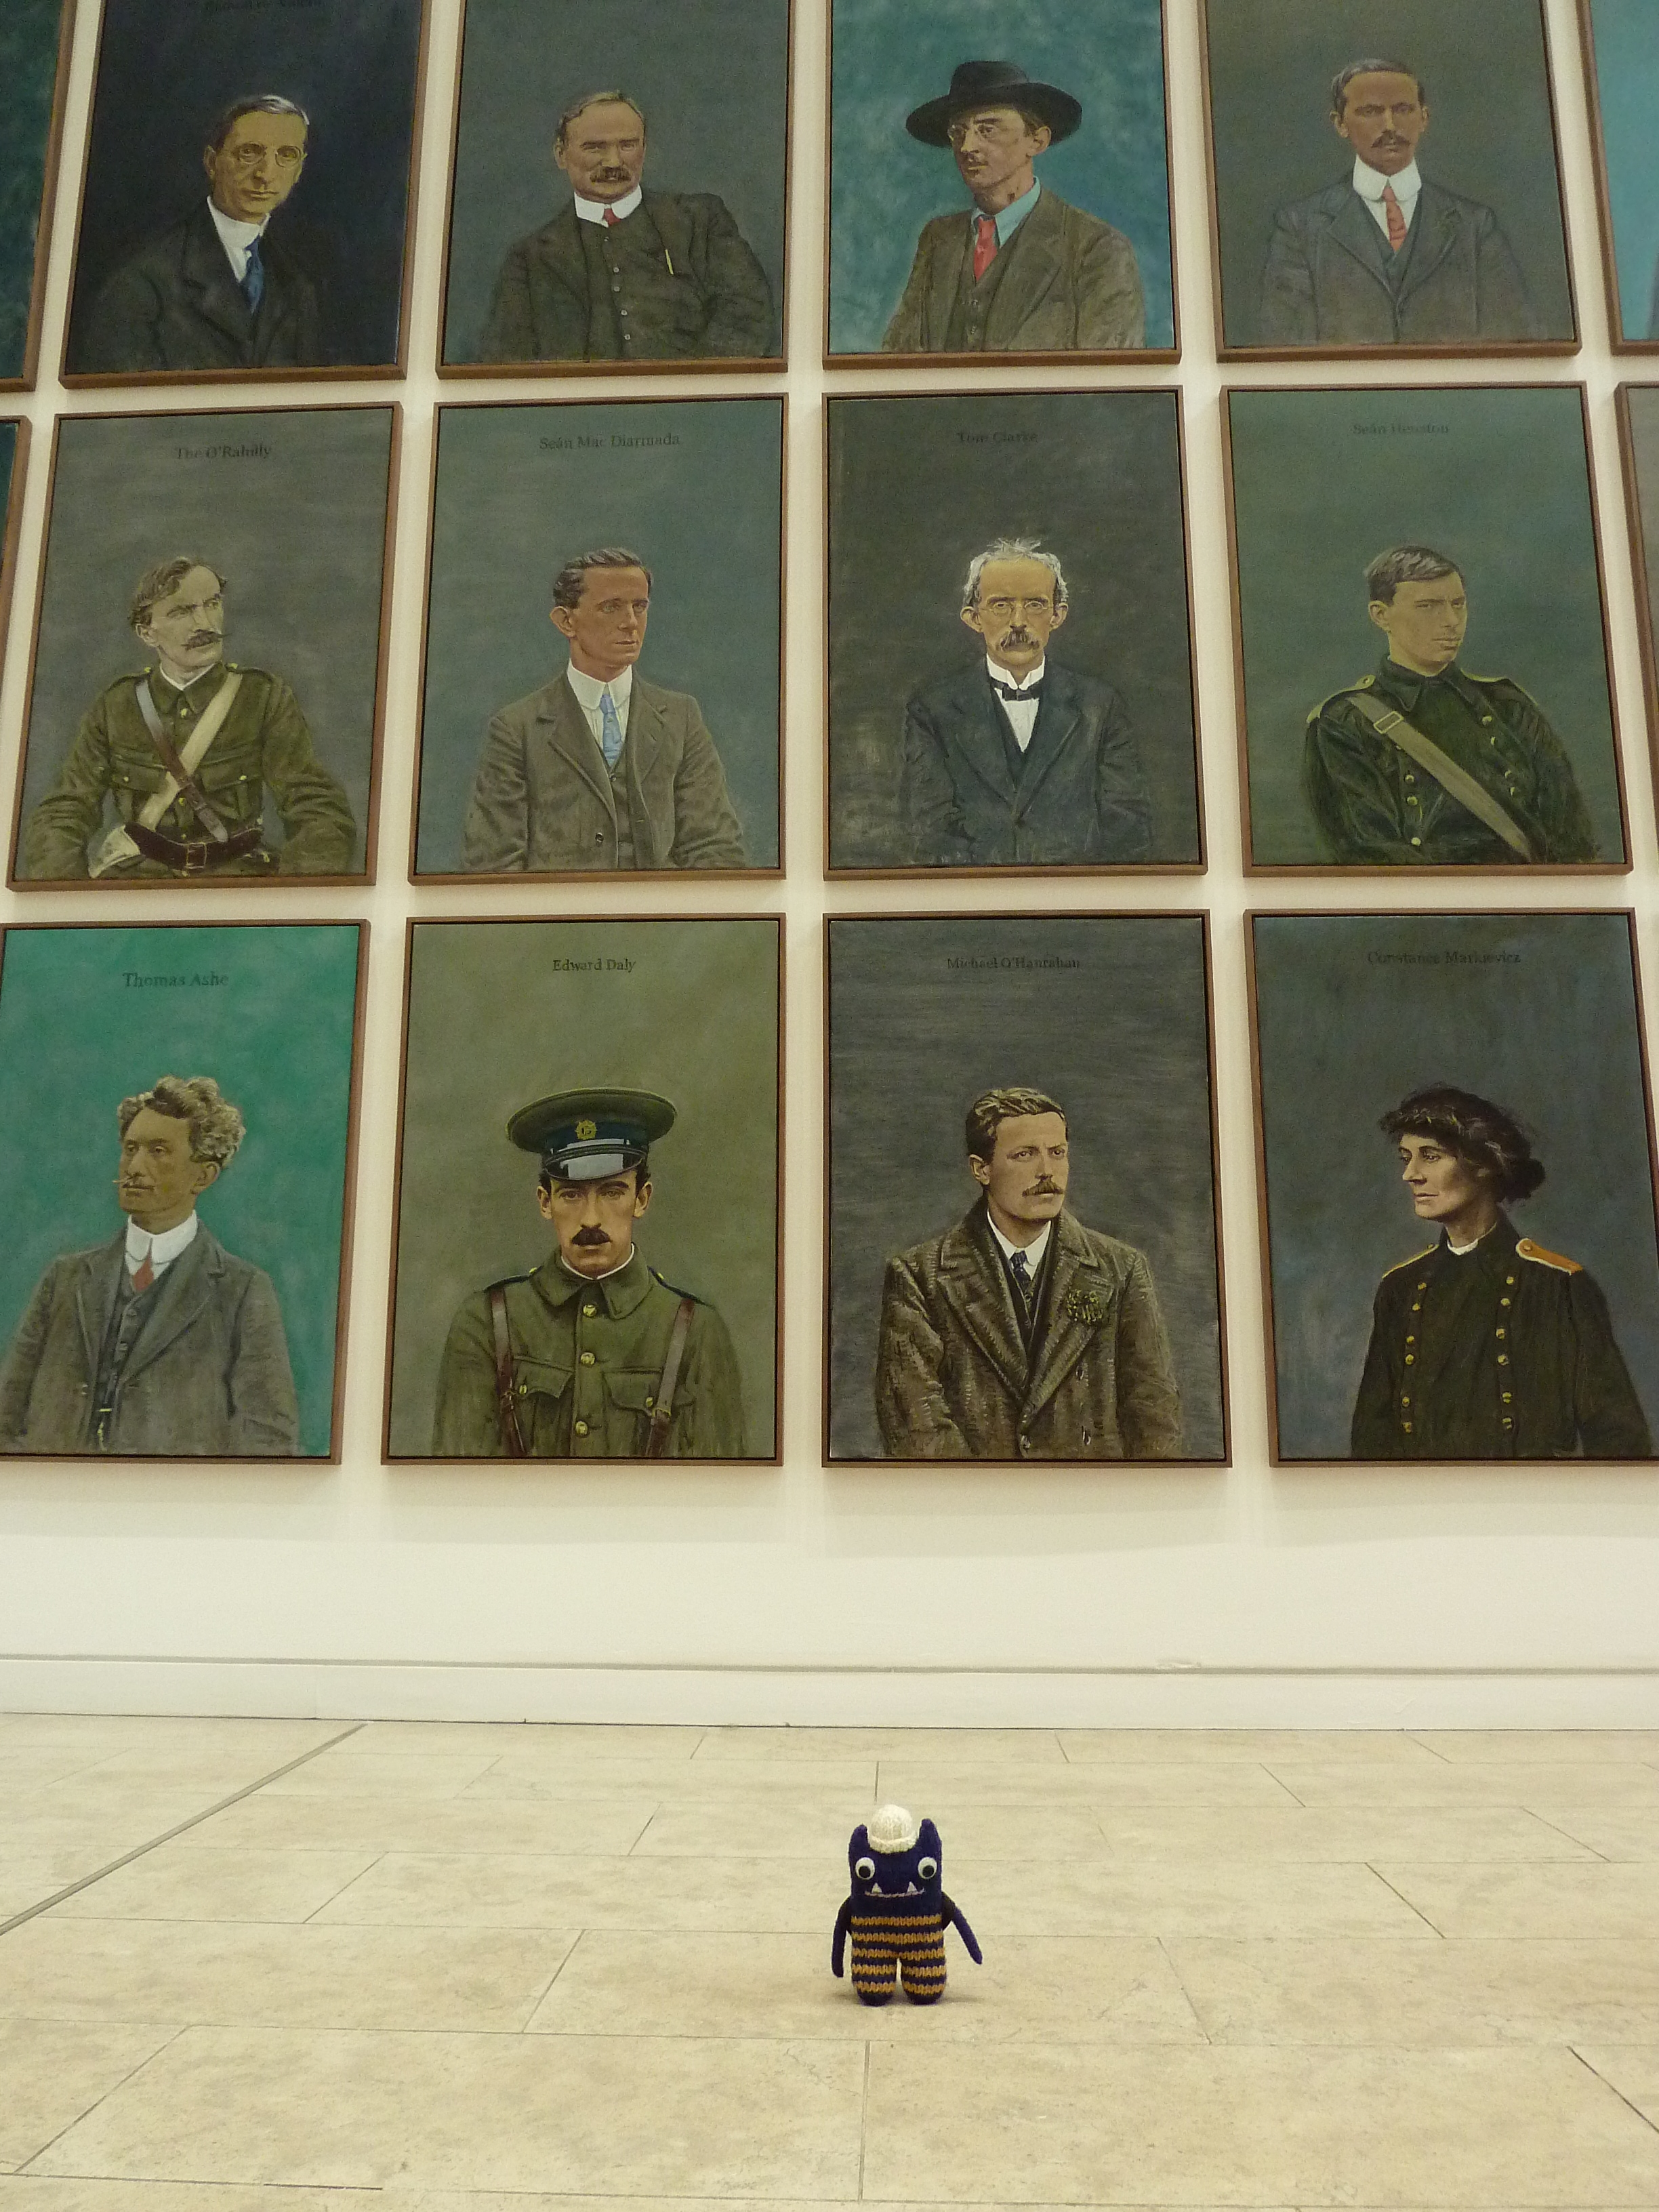
 I especially like pictures of Explorer Beastie where he’s toddling away from the camera – yes, he may be small, but he’s not going to let that get in the way of a good adventure!
Also, don’t forget about those paws! Show that your Beastie is interacting with the world around them by getting them to touch things within arm’s reach. Check out these two pictures…
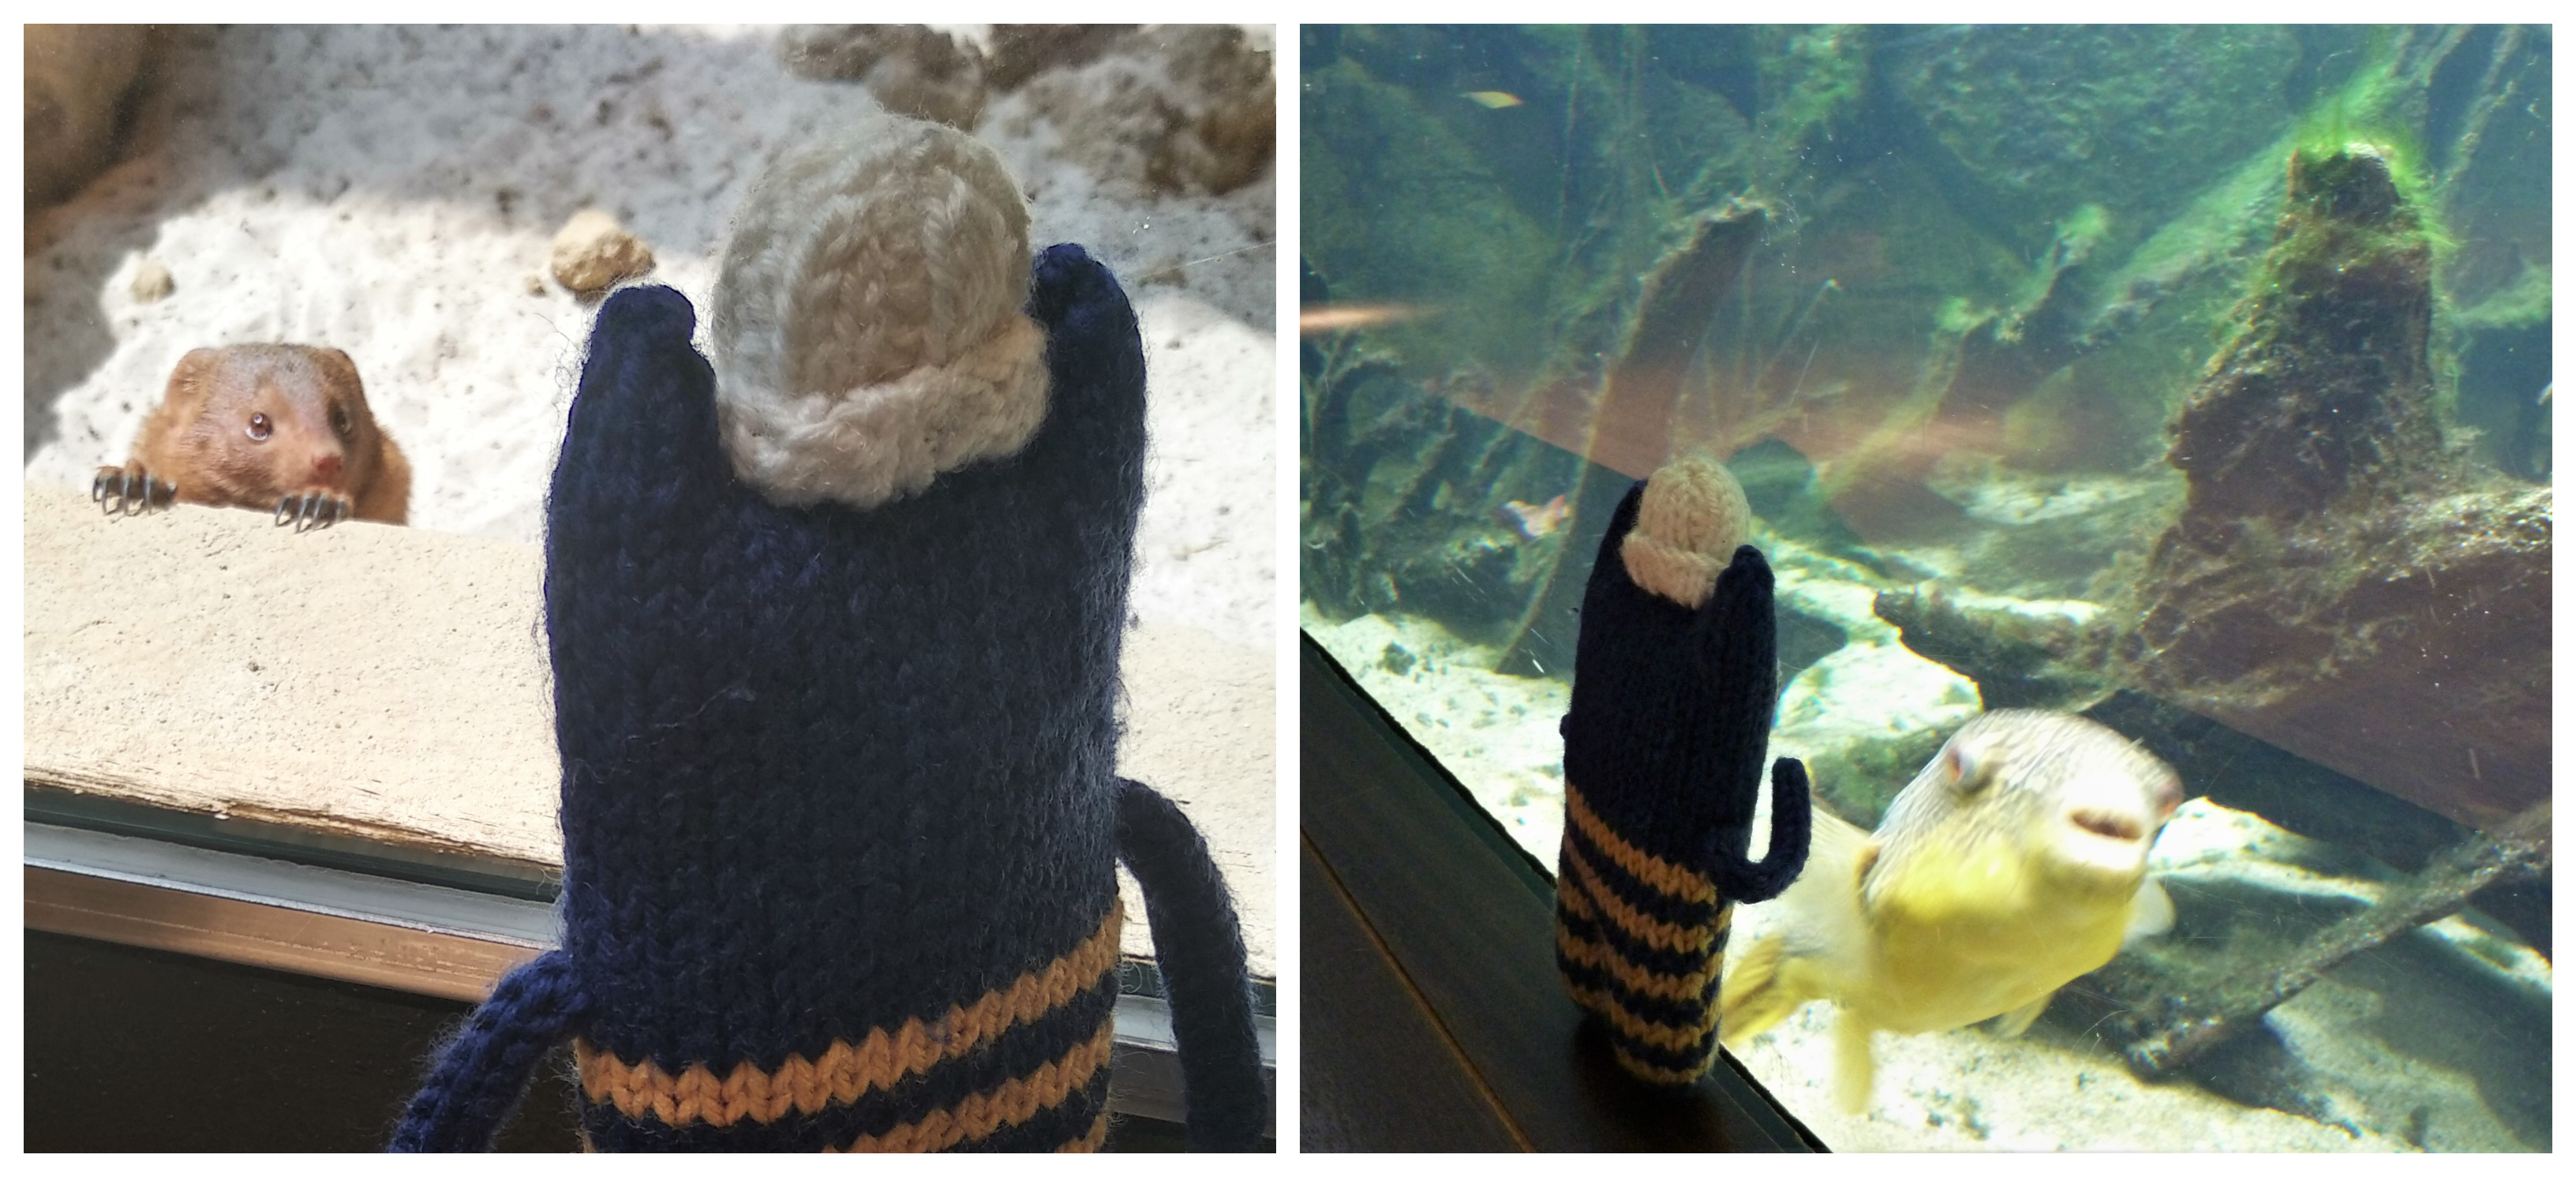 See the difference? Although the fish was moving a bit too quickly to be photographed properly in the photo on the right, doesn’t Explorer Beastie look so much more interested in him than he was in the mongoose in the image on the left? And notice how his paw is on the glass in that picture, rather than just hanging by his side. It really works!
But the prize for the most intrepid Beastie photoshoot to date has to go to Tammie. She found a way to snap her Beastie, Finn McSpool, underwater.

You can read the story behind that monster adventure here! And if you have any tips of your own, please share them in the comments!
Here’s to a weekend of Beastie photography fun… Enjoy!


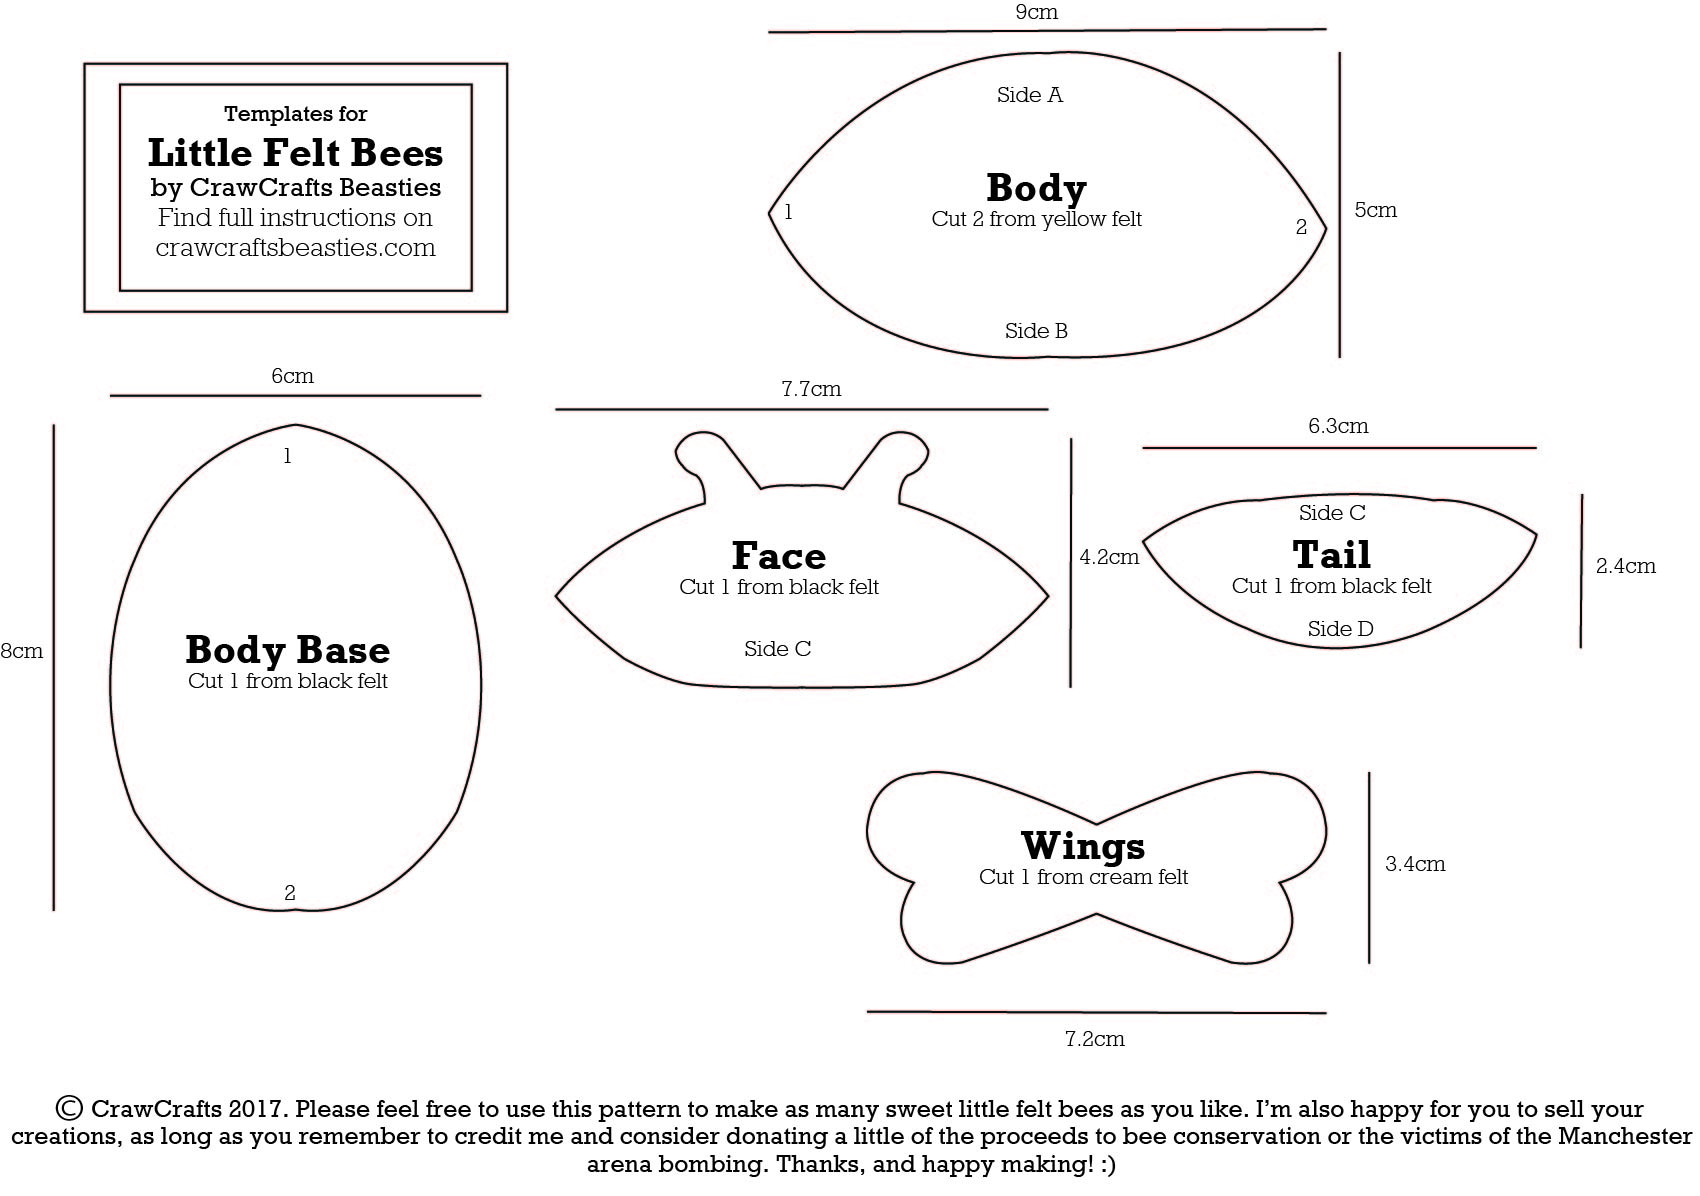

 4. For a smoother curve, cut a few notches at intervals along the edge of the felt, near to (but of course not actually touching) the seam. Then turn the body “shell” right side out.
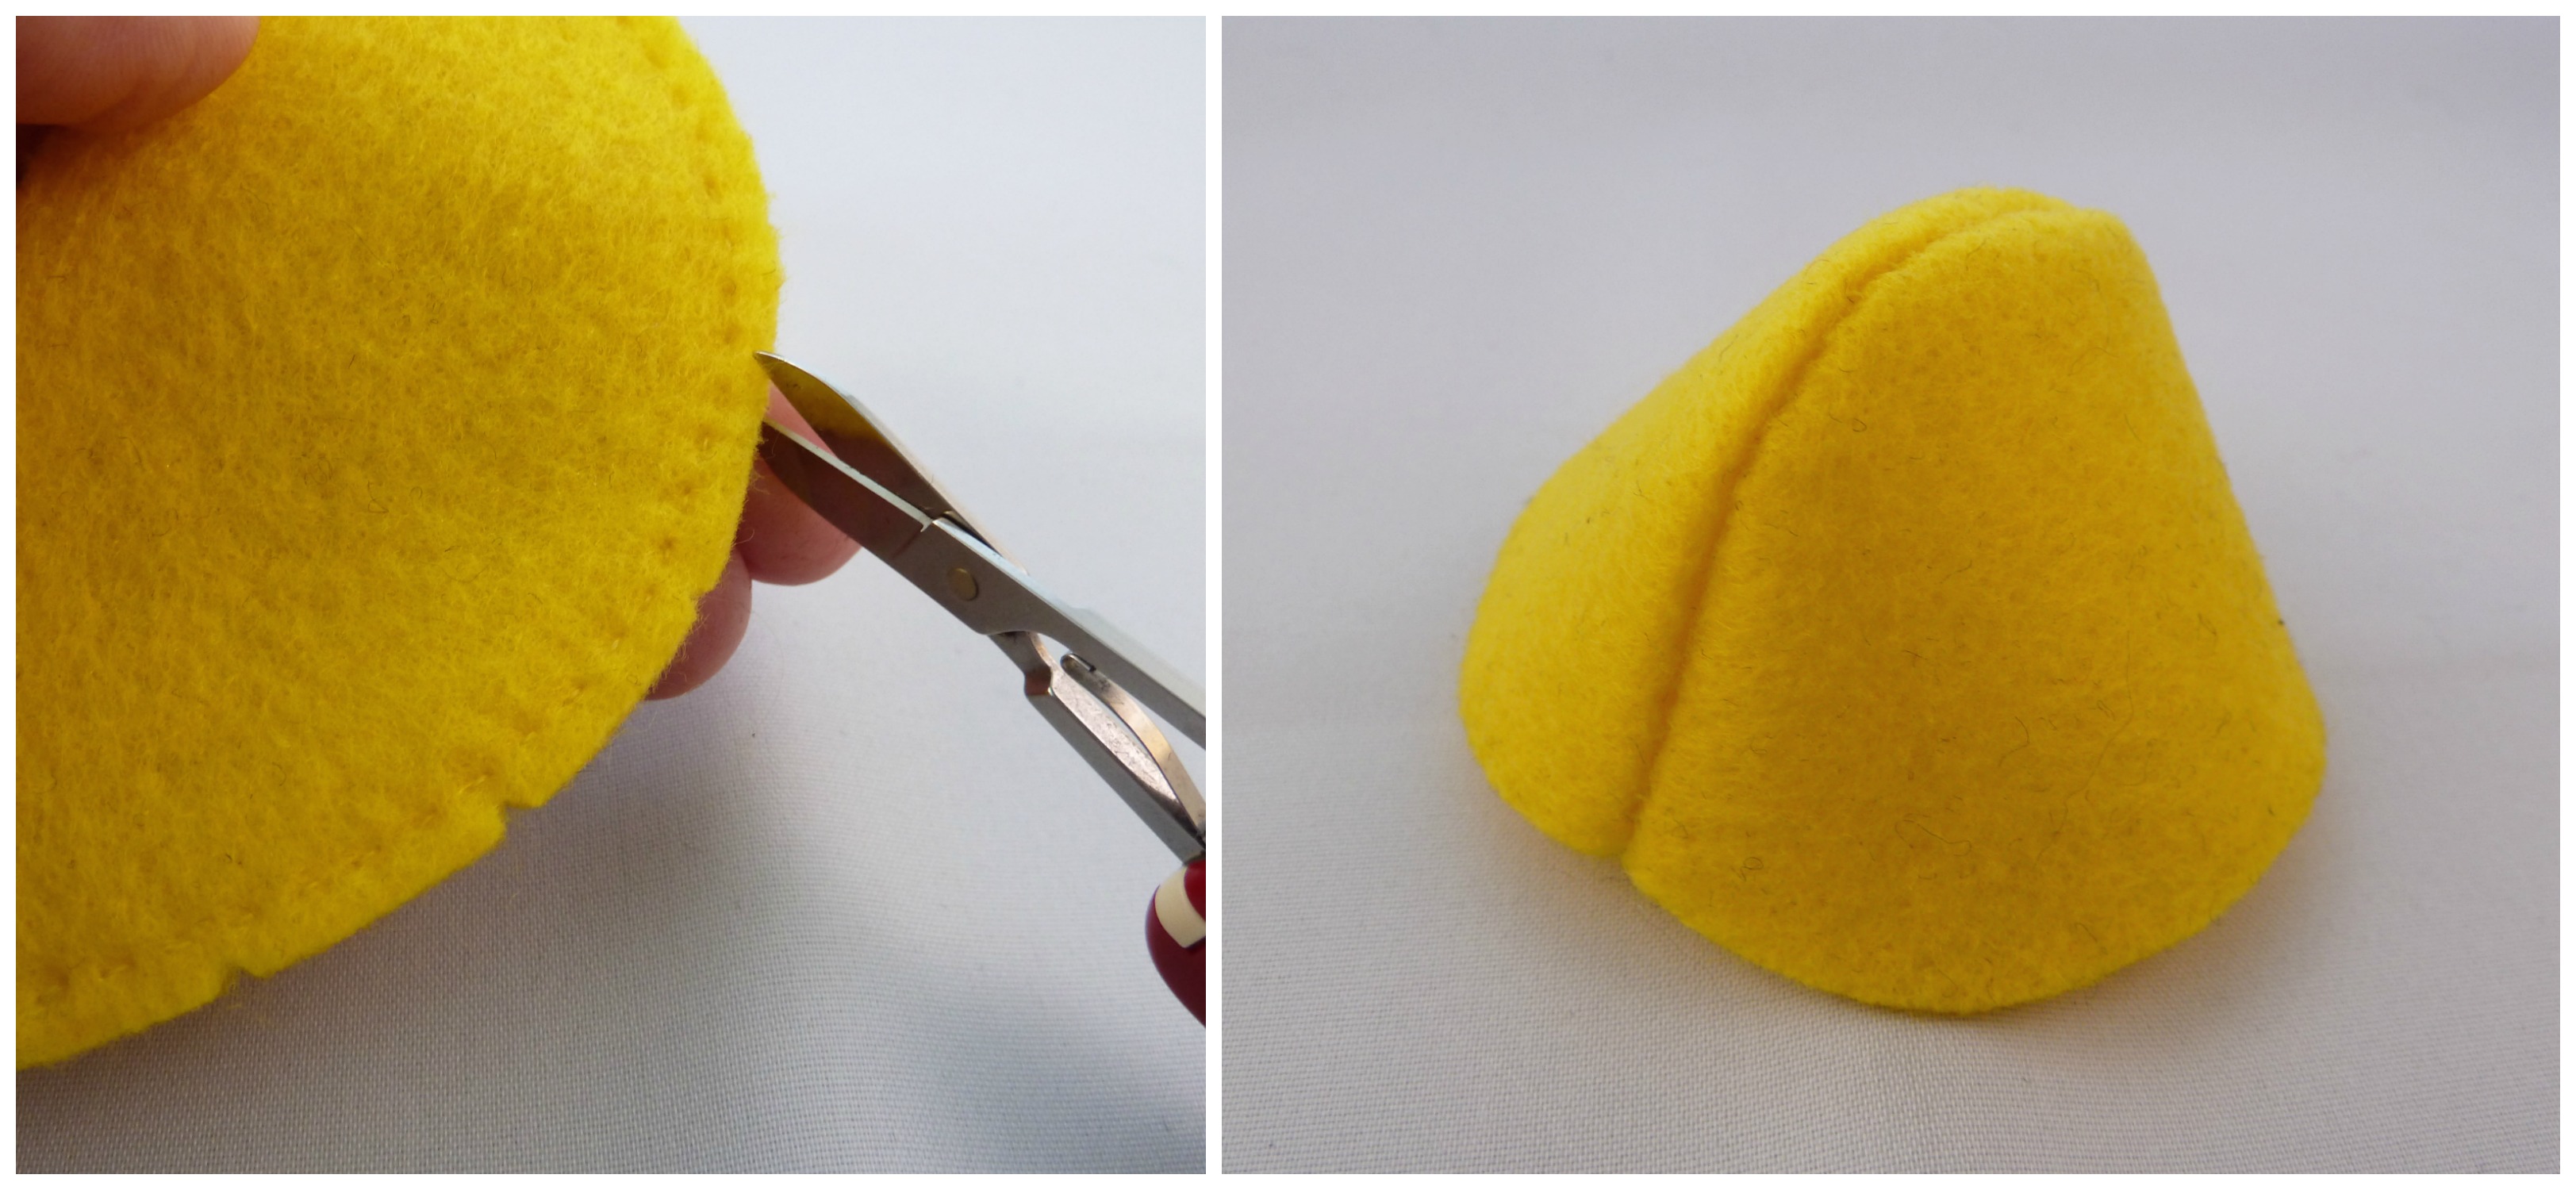
 6. Don’t stitch all the way around, though! When you’re within 2cm of the beginning of the seam, take a break from sewing and get stuffing. Gently push the toy filling inside, making sure it gets right up into the top of the bee’s back! I find a chopstick or pencil really helps with this bit.
 Then continue sewing to close up the opening.
 8. Pin the face to the front (point 1) of the body, then use whip stitch to sew along the bottom edge (side C) first, and then along the top. I’ve done a couple of stitches in orange for the photos, so you can see what’s going on!
 When you get to the antennae, sew a couple of backstitches across the base, so that they can stand up from the bee’s head.
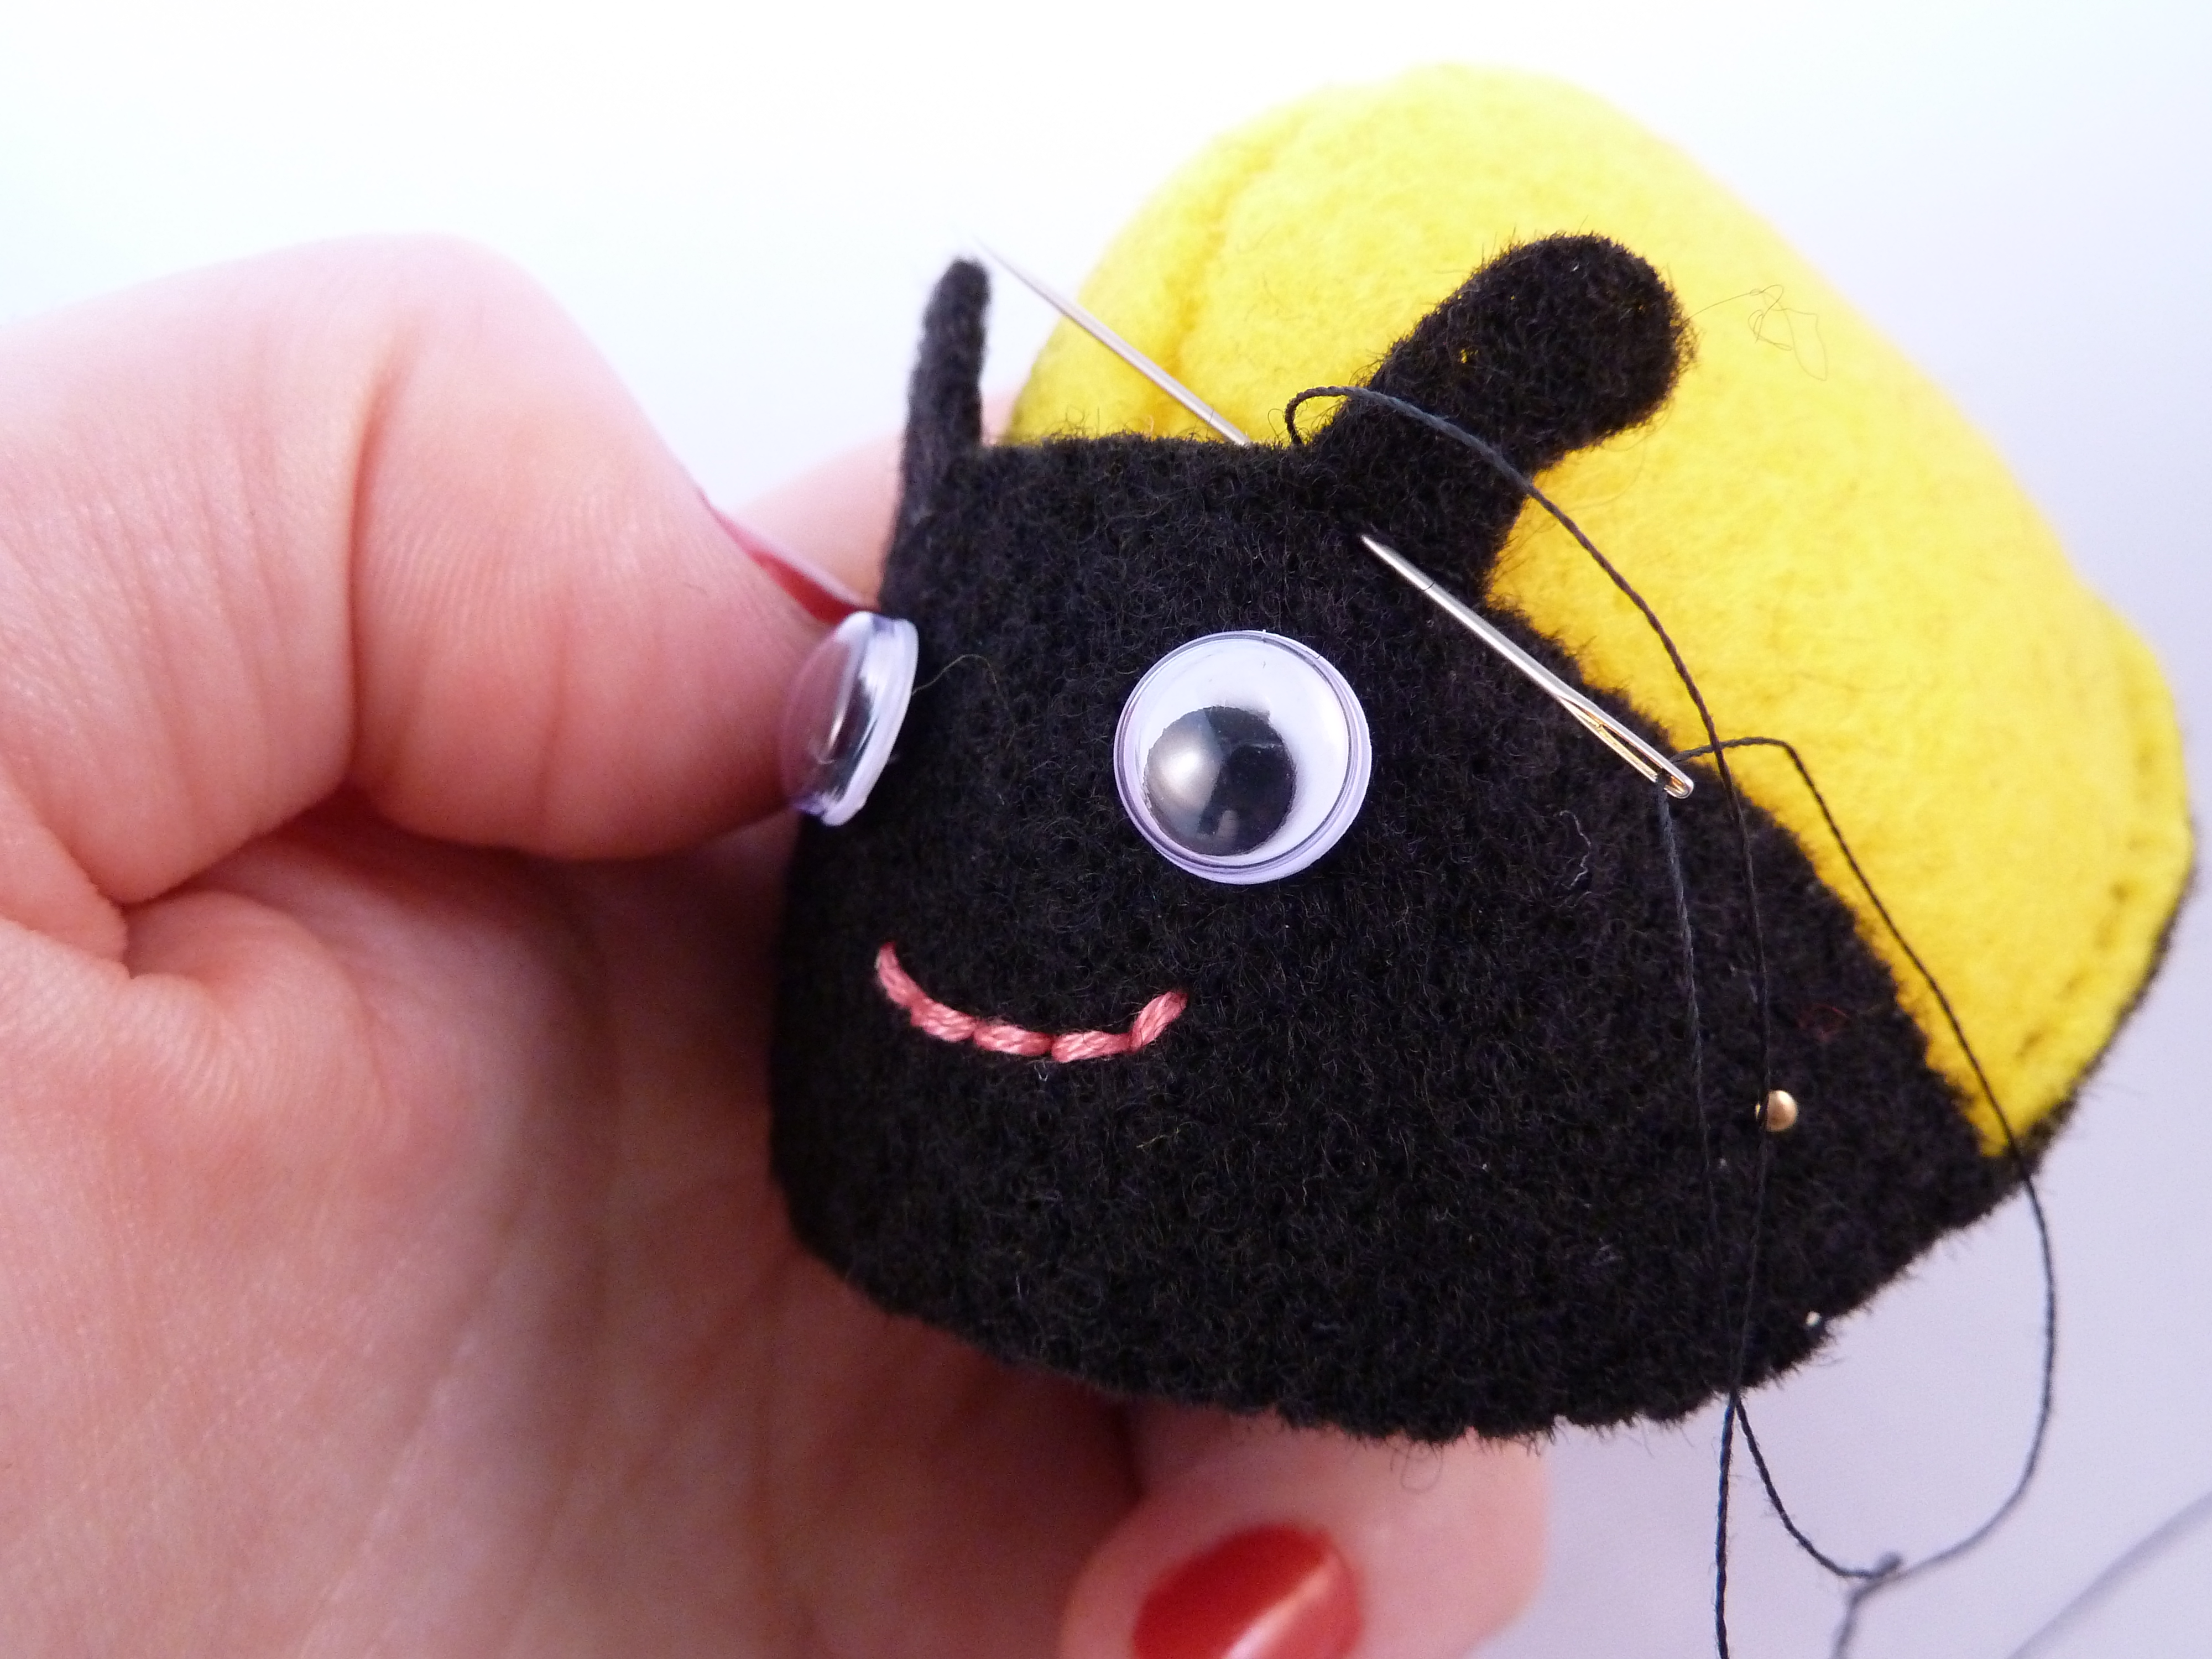
 10. Next, attach the tail piece to the bee’s bottom (point 2) in the same way as you attached the face piece. Side C covers the line of black stitches at the base, while the zigzag edge goes over the bee’s back. Pin in place, then stitch as before…
 11. …And then repeat for the stripe as well!
 Nearly there!
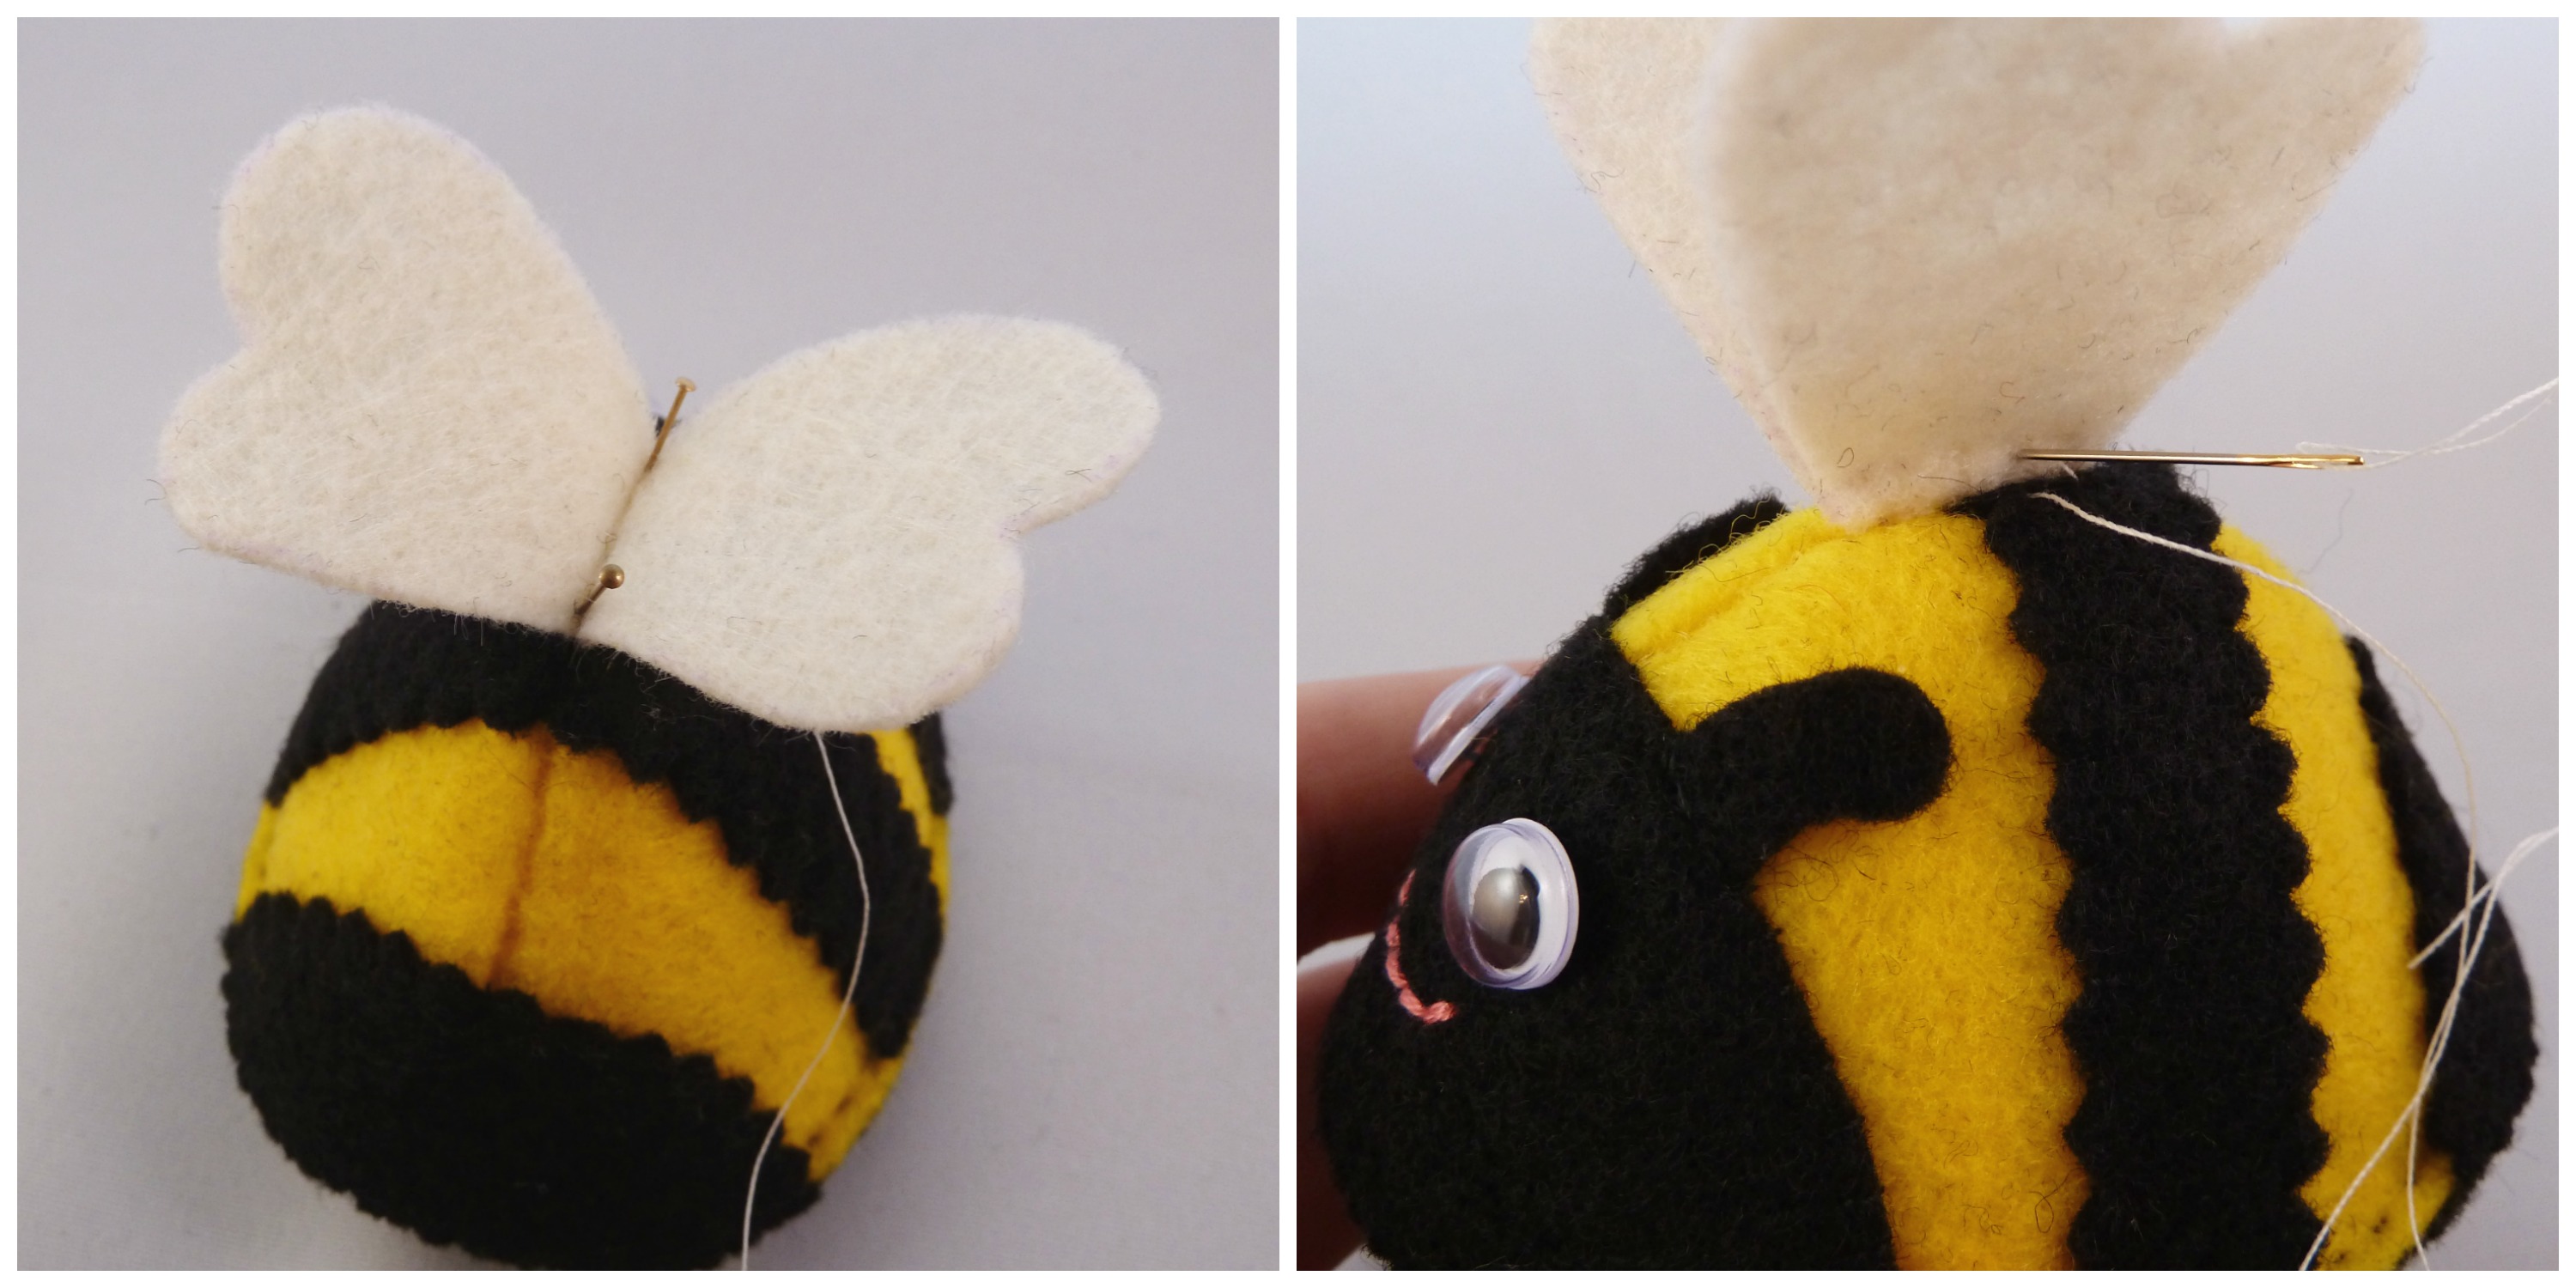
 12. For the wings, fold the wing shape in half and sew a seam 2mm from the short edge in cream thread.


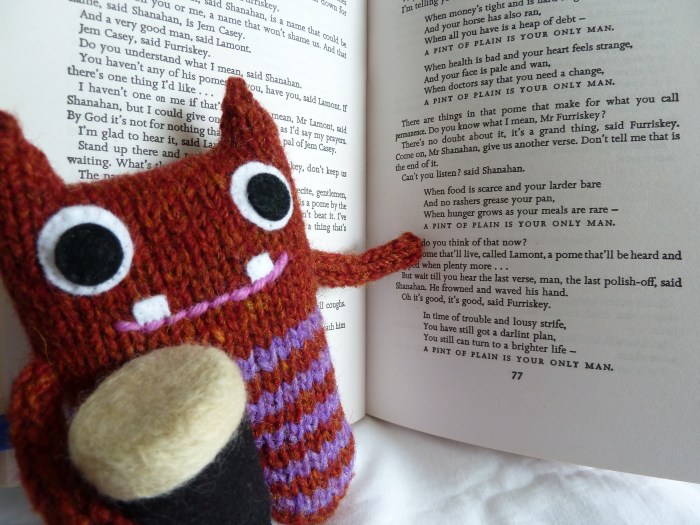

 Here at Beastie Towers, we’re always on the lookout for new ways to make some of the Beasties’ favourite accessories! So I decided to put my recent obsession with needle felting to good use, and rework my existing pint design. You can see one of the old-style ones in this photo…


