Well hello there everybody! I hope you all enjoyed the weekend. For any of you who missed Friday’s post, I introduced this brand-new family of Beasties…
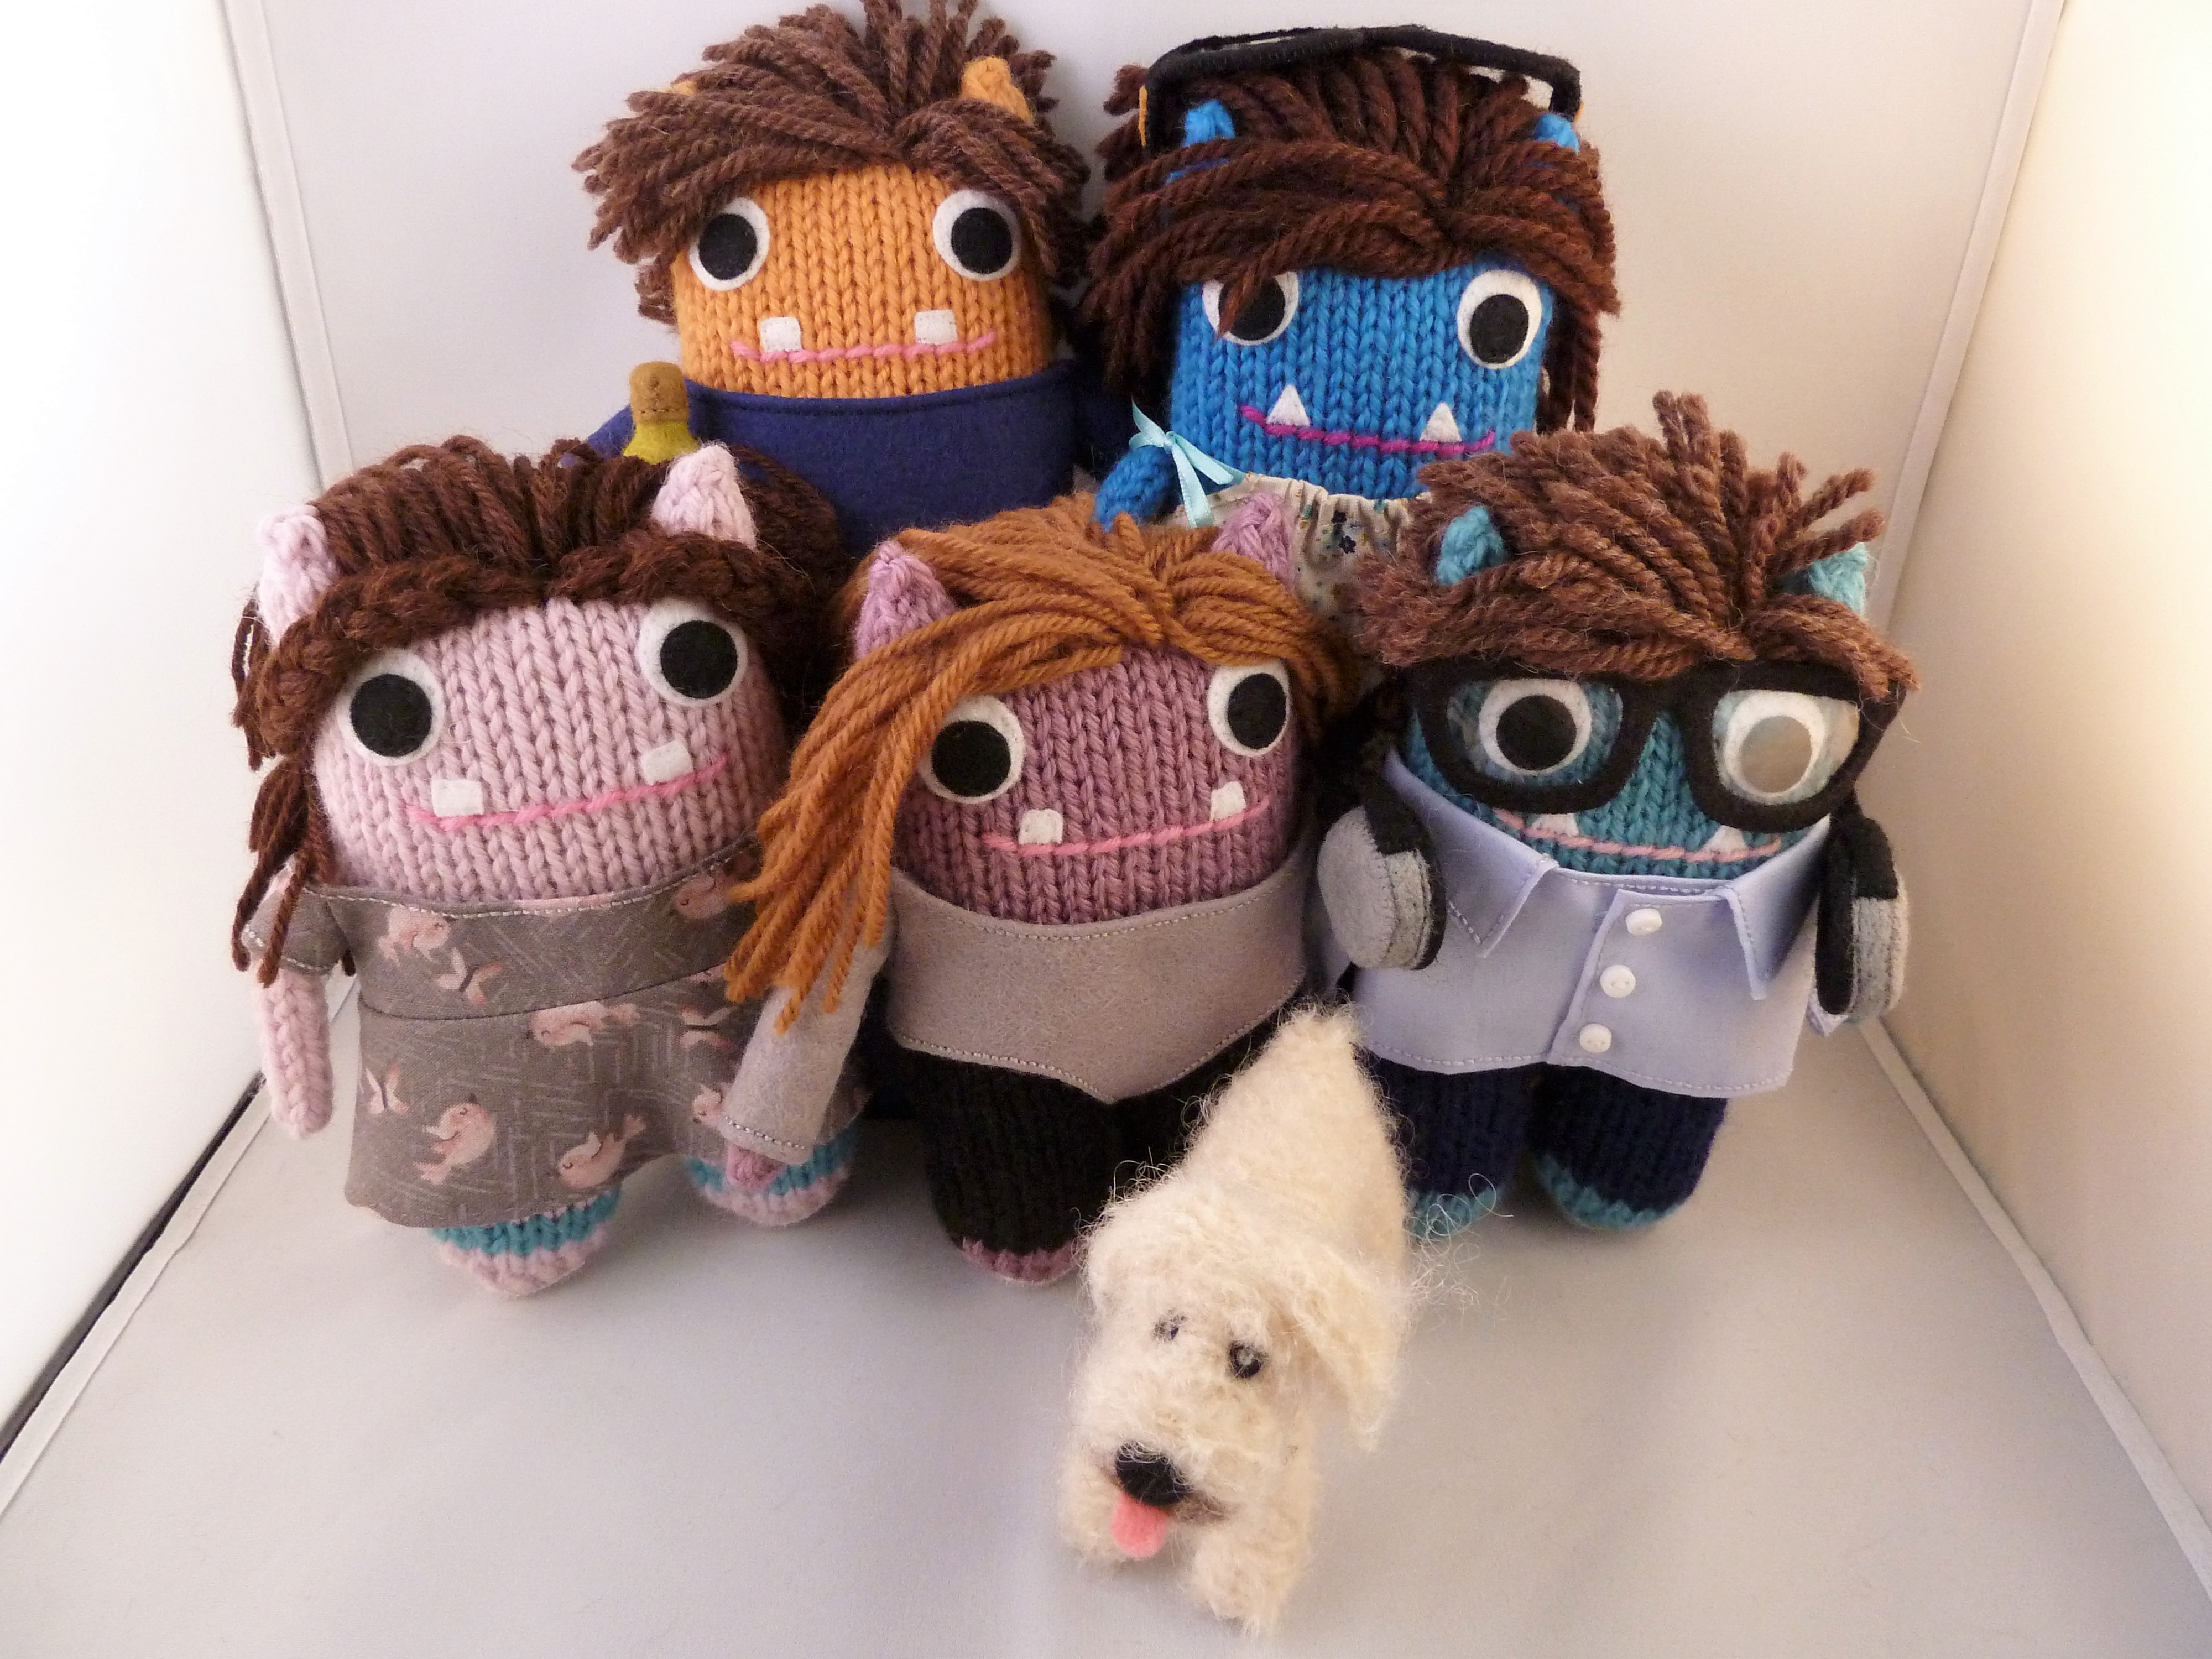 … But I did also mentioned that there was something special ahead for this bunch of little monsters and their faithful Beastiedog. Something that meant that they needed to have specially-adapted sticky toes!
 So what’s the deal? Well, I can now reveal that these Beasties are going to live in a frame!
The idea of framing Beasties, so that they can lead a life untainted by fears of dust, moths and over-friendly pets, is one that I’ve been toying with for a while. I’ve even gone as far as to mention it to customers at markets… But no-one had ever taken me up on the offer.
Until recently.
And WOWEE, it’s been a steep learning curve! So in today’s post, I wanted to talk about how I went about framing a whole family of Beasties… And what I learned along the way.
Lesson 1 – A Frame ain’t cheap!
When I first estimated a price for this project, I assumed that IKEA would have a suitable Beastie habitat among their vast range of picture frames and display boxes. Errr… Nope. And when I started to research the alternatives online, the price nearly took my breath away. YIKES! Turns out a nice deep box frame in the size I needed involved a custom order, and would significantly increase the cost of making this piece.
So, I had no choice but to go back to my customer – but I was at least able to give him a couple of options if he wanted to stick to the original quote. I figured I could make the Beasties flatter, so that they’d fit in a narrower frame, or create a sewn or embroidered piece for him instead. Fortunately, he preferred to stick to the original plan and pay a little more for “real” 3D Beasties in a custom-sized frame.
All that was left to do then was to have a quick word with Pigbert E. Banks, our financial advisor…
 … And we were good to go! But then…
Lesson 2 – Go Bigger or Go Home
Before I ordered my frame, I got Explorer Beastie and a few friends together to help me estimate the size I’d need. I obsessively measured and remeasured, and then added in a couple of extra inches just to be sure.
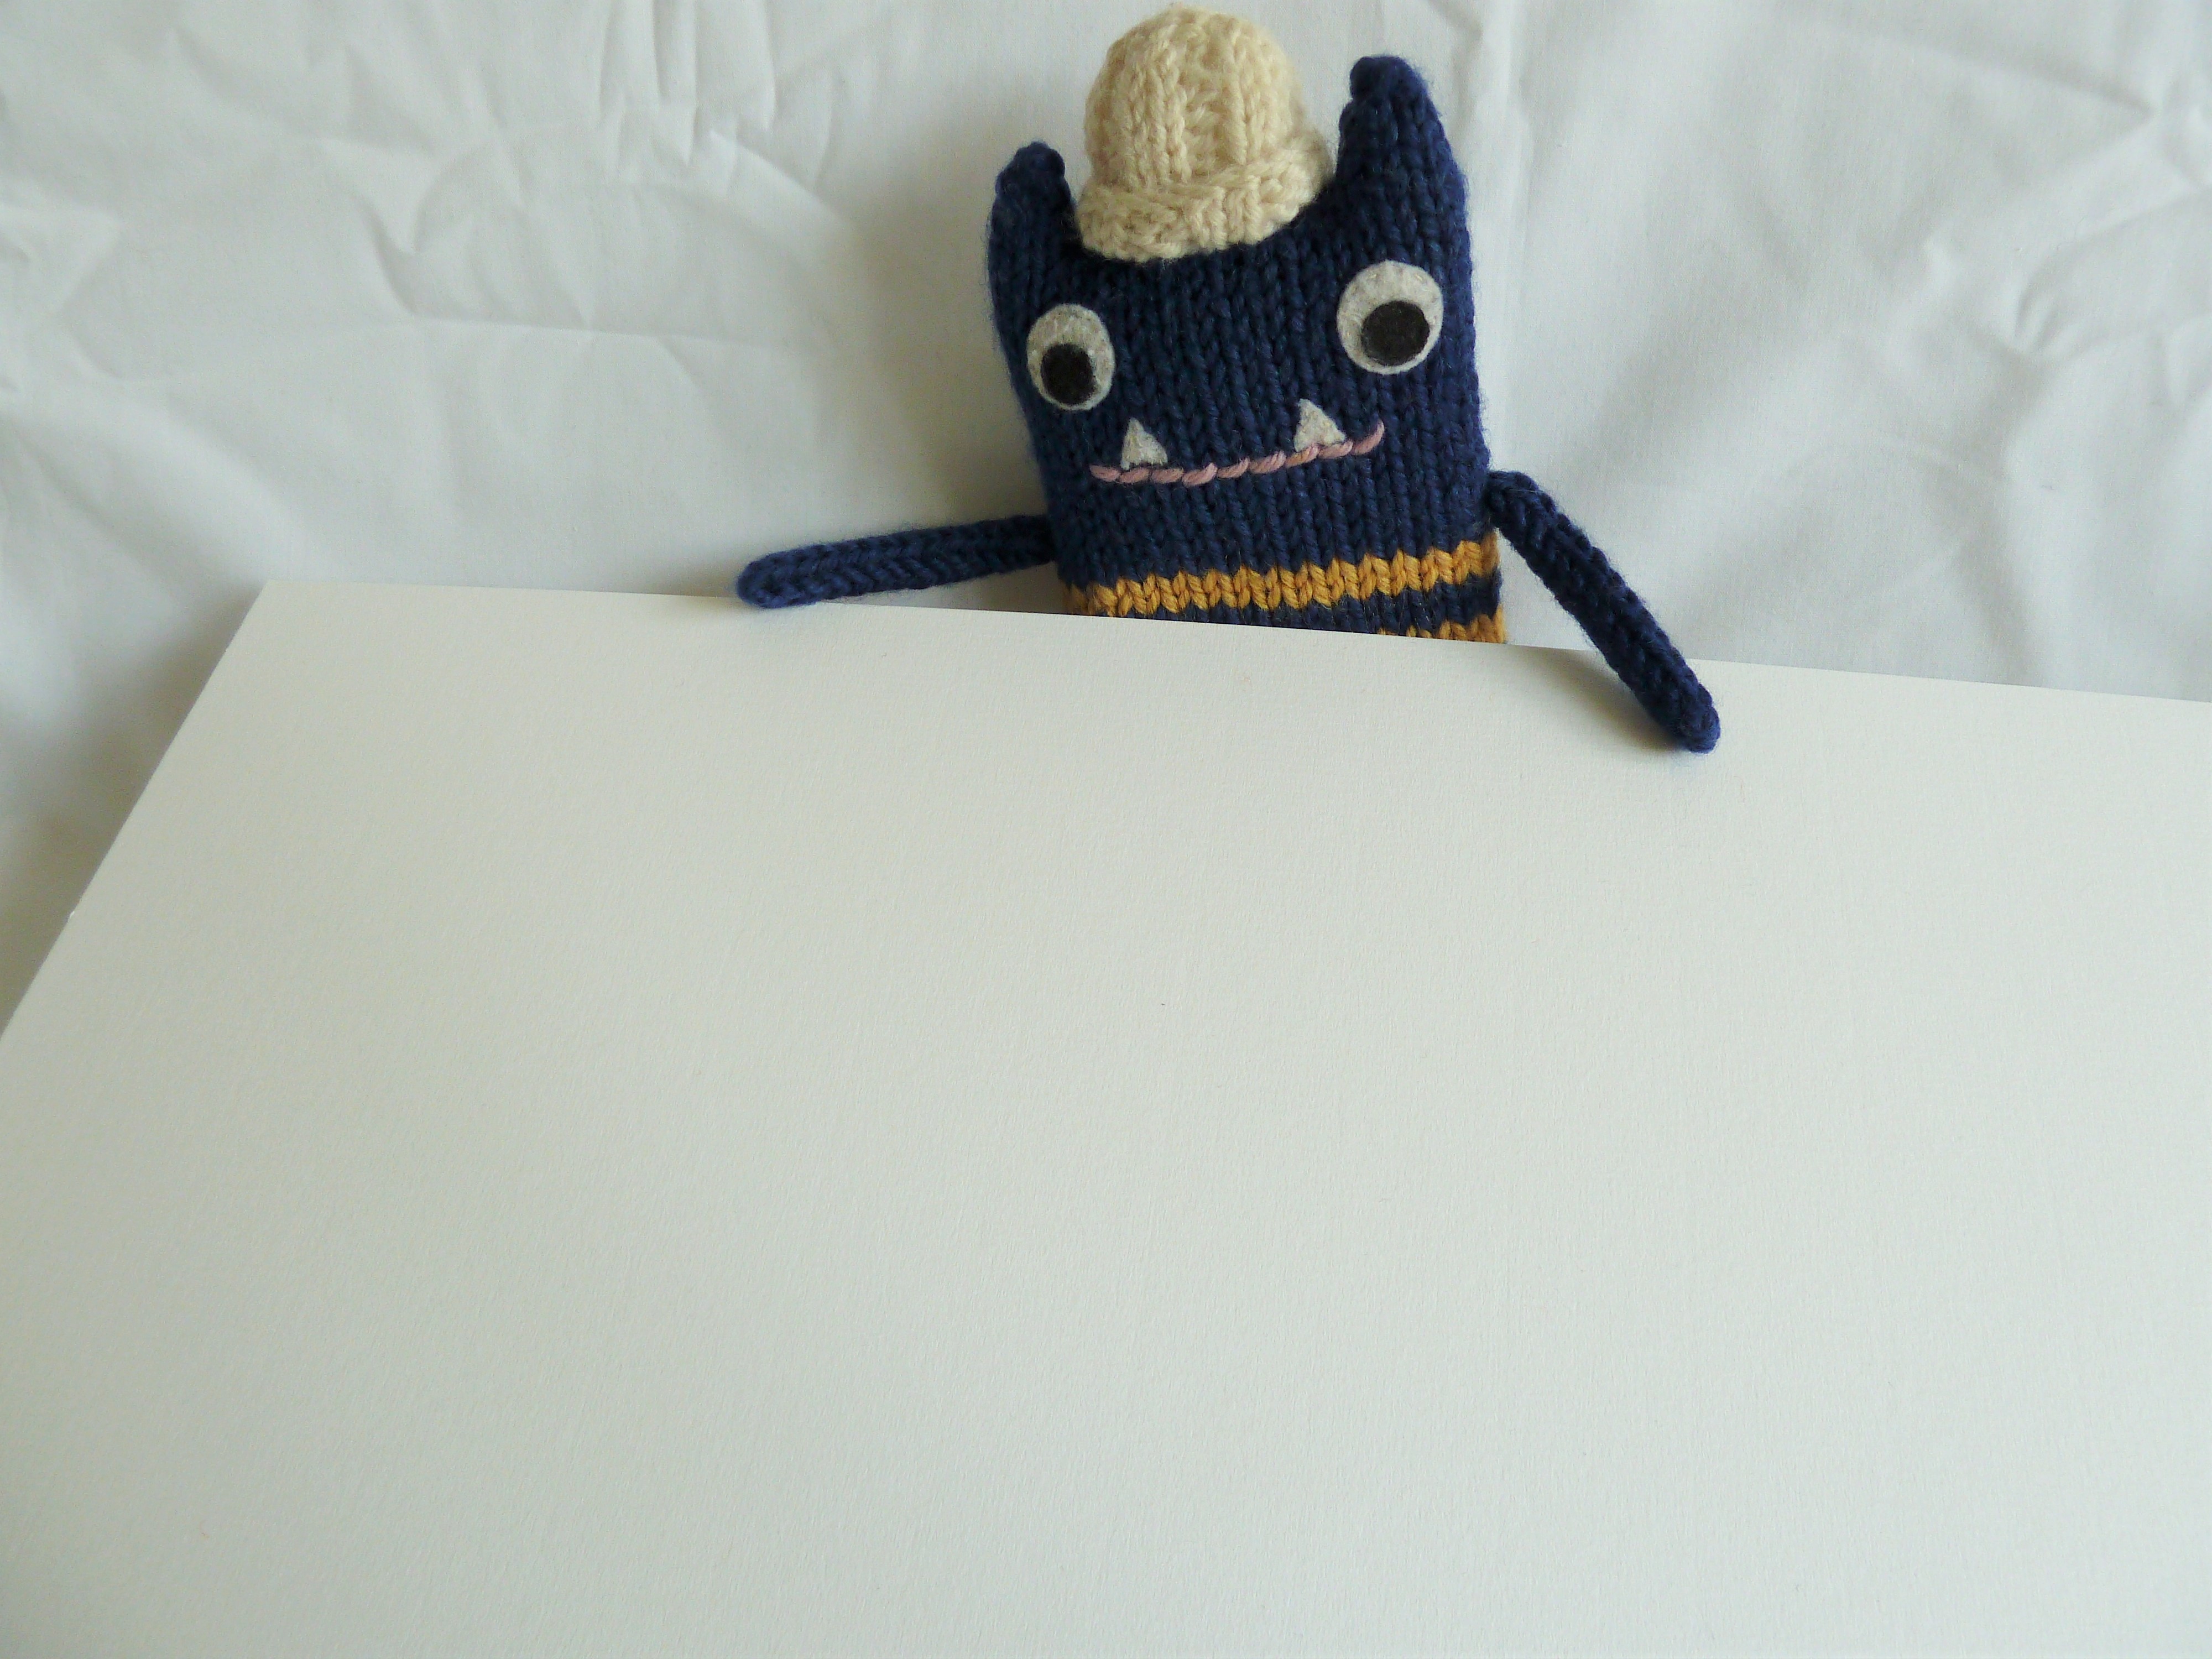
Let me tell you, I’m so glad I did. Because as the family of Beasties began to take shape, I realised that their hair and outfits were making them considerably bigger than my models had been. The frame was already en route, but would the Beasties all fit inside? I was so worried they wouldn’t that I even considered ordering a second one in the next size up! But when it arrived (please excuse gratuitous Beastie nudity and bed-head hair)…
 Saved! What a relief. But then I noticed that raw wood and MDF inside… And it was time for the next hiccup.
Lesson 3 – When the order form says “Would you like a mount board?” the correct answer is YES
Why did I opt out? Well, my uncertainty about getting everybody inside the frame meant that I was reluctant to put anything else in there that might eat up valuable space. I also thought “How hard can it be to get a mount board?” – talk about a rookie mistake!
So, I did the rounds of art supply stores and stationers, in search of either a board that would fit or a nice person who would cut a standard board to size for me. The lady in K&M Evans was especially lovely, even offering to call a nearby printers to see if they would help! But in the end, I realised that I would need to go back to those oh-so-pricey local framing companies.
Fortunately, in my Googlings, I stumbled on a real gem. Dublin Picture Framing have a studio in the very heart of the city, in the most awesome old building. They were super-helpful, and sent me on my way with 3 different boards so I could pick the one that best fitted my frame. Talk about saving the day!
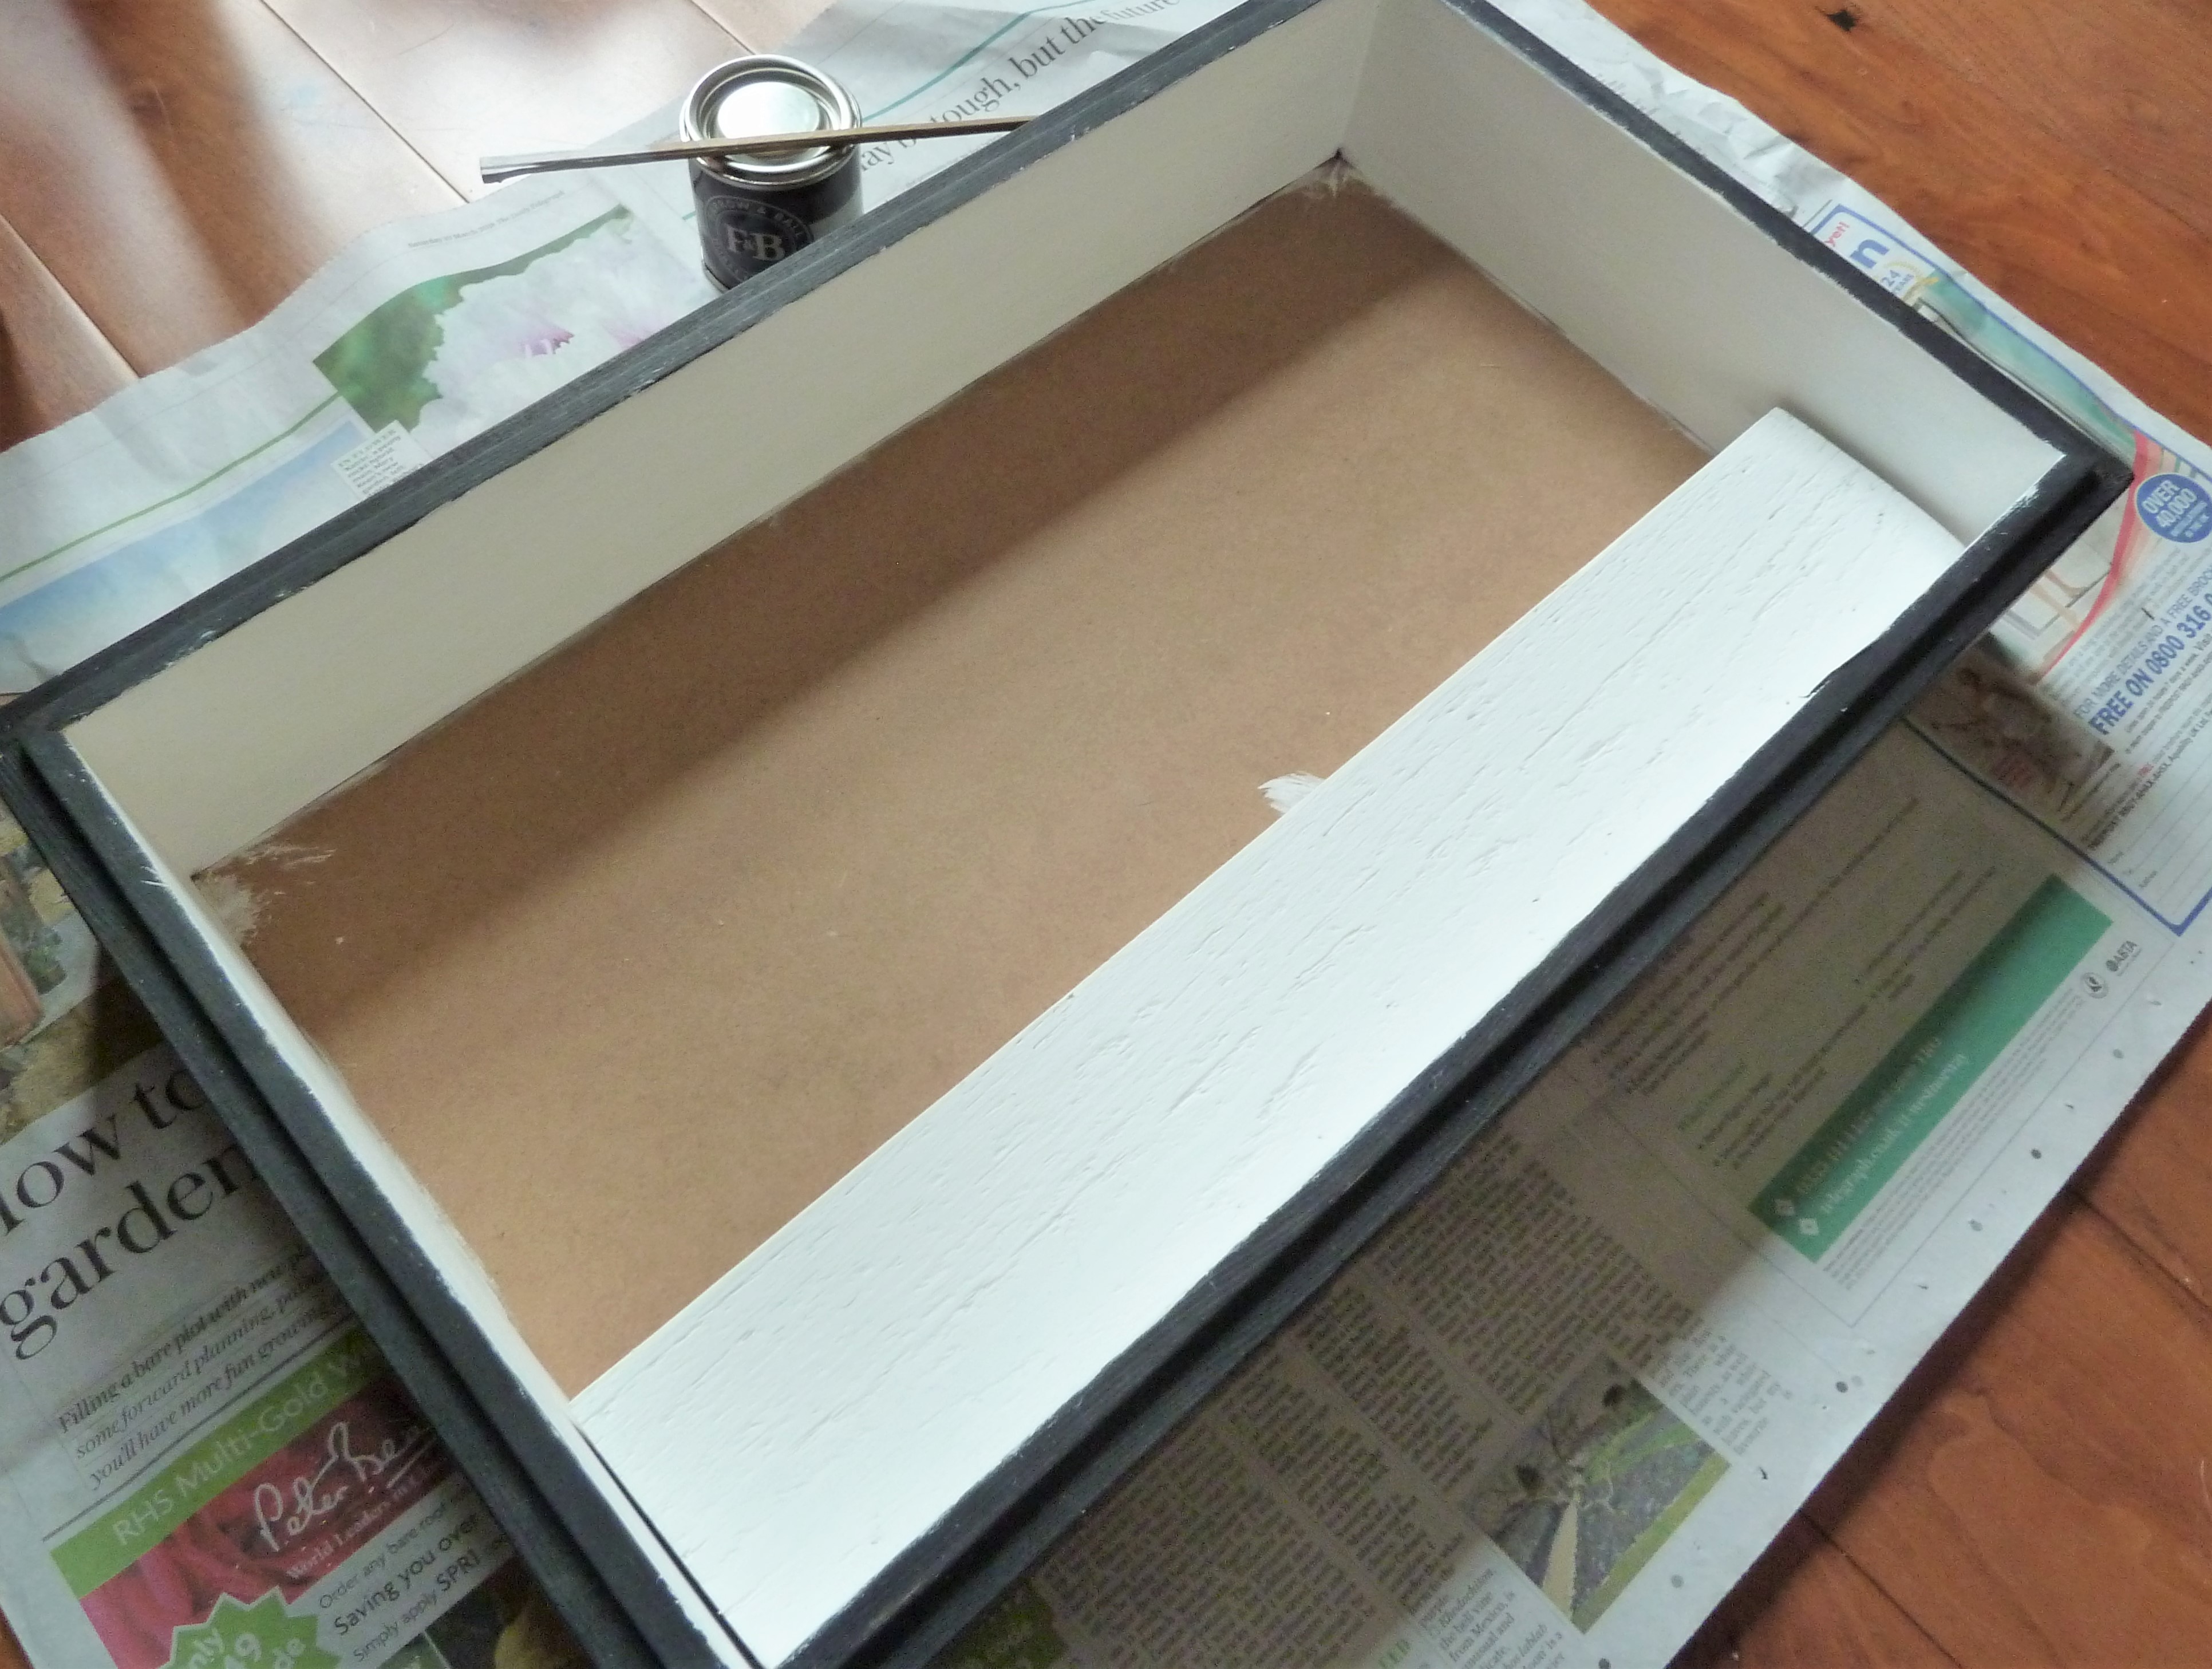
 Then all we had to do was to find a matching paint to take care of the sides…
 … And the inside of the frame was transformed! Surely that’s everything taken care of now? Not quite… Mum and Dad Beastie can’t very well hang in the air, can they? Looks like we’re going to need something for them to stand on!
Lesson 4 – Make Friends with your Local Builder’s Merchant
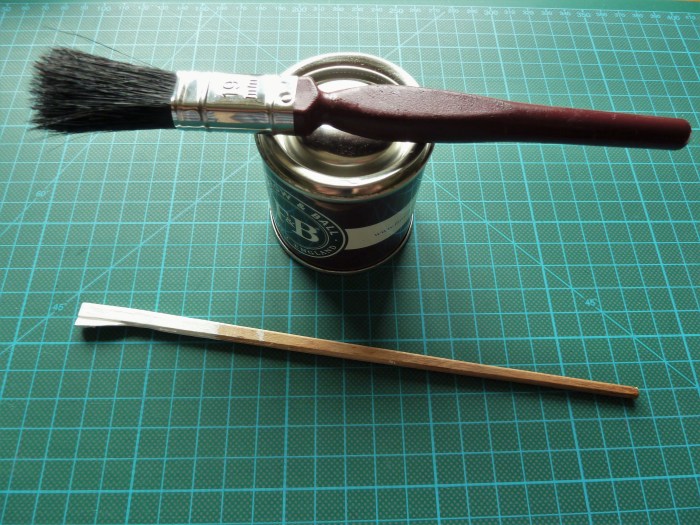
At this point, I should have known better than to utter the words “how hard can it be?”, but that’s exactly how I approached the problem of getting a piece of timber cut to create a riser for some of the Beasties to stand on. A tour of the hardware stores revealed that, on a Saturday at least, this service is near impossible to come by. The good folks at Decwells do have a resident handyman who would have sorted this out for me, but alas! He doesn’t work weekends. However, they suggested I try Chadwicks, a local builder’s merchant, which I had always assumed to be trade-only.
Not so! Even though I arrived just minutes before closing time, they directed me to a pile of offcuts and let me take my pick. Best of all – it was free! Then, armed with my Junior Hacksaw, a file and some sandpaper, I set about prettifying my plank.
 And with a couple of coats of paint…
 Success!
And that just leaves one last lesson to share…
Lesson 5 – Don’t Panic!
If you keep chipping away at any problem, you’ll figure it out. I had plenty of nail-biting moments with this one, but I’ve learned HEAPS along the way. I also found plenty of people who were happy to lend a hand!
So, after all that… You’d probably like to see the finished frame, right?
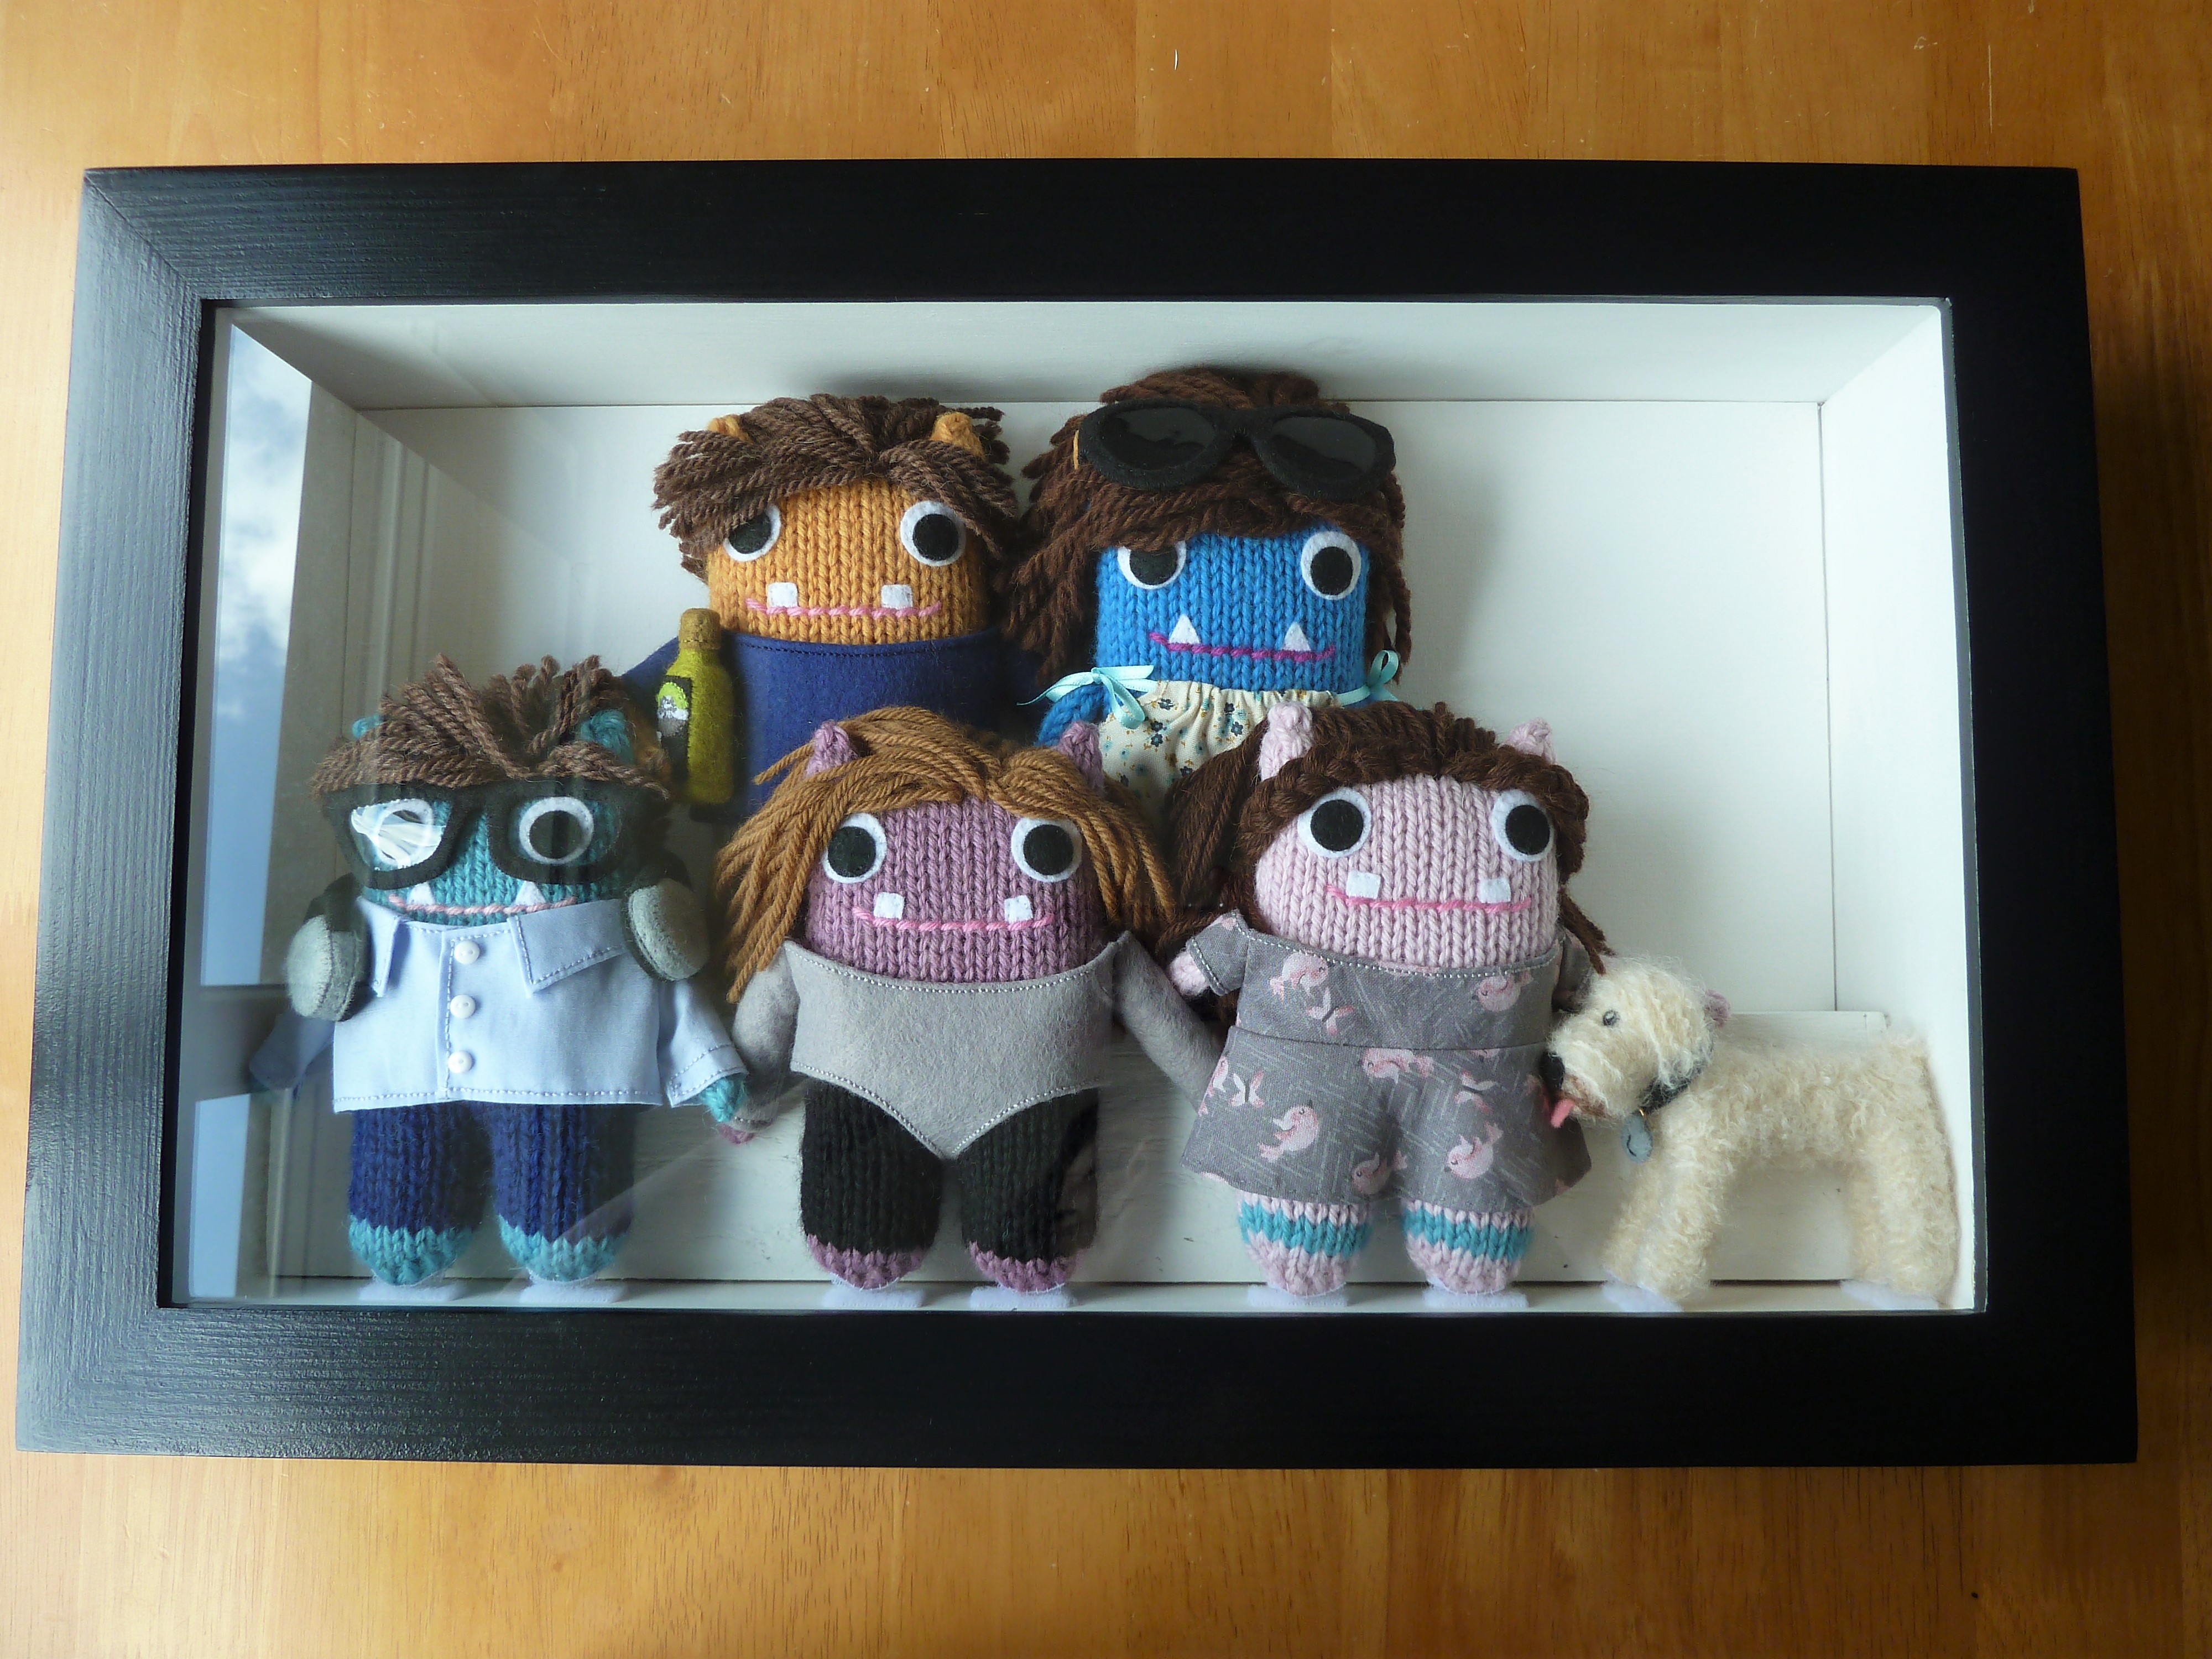 I’m almost scared to ask, but… What do you think? Any helpful framing tips for next time? Please feel free to share in the comments!
We’ll be back on Friday with something I DO know a thing or two about – Beastie photoshoots! See you all then…